Affiliate links have been used in this post about my farmhouse kitchen table makeover. This means I can earn fees by linking to products on websites I am associated with via affiliate advertising programs. Please note that all affiliate links have been marked with an asterisk* such as this. If you have any further questions about this, you can click here to read my policies page.
Happy Sunday, everyone! I can’t believe I am just now getting around to sharing this project with you. My husband & I started re-vamping our dining set at the end of last year, right after we moved into our new place. The timing was crazy given all the unpacking, I’ll admit, but we were tired of putting it off.
Can you blame me? Check out this before picture, of the table in all of its 1950’s glory…
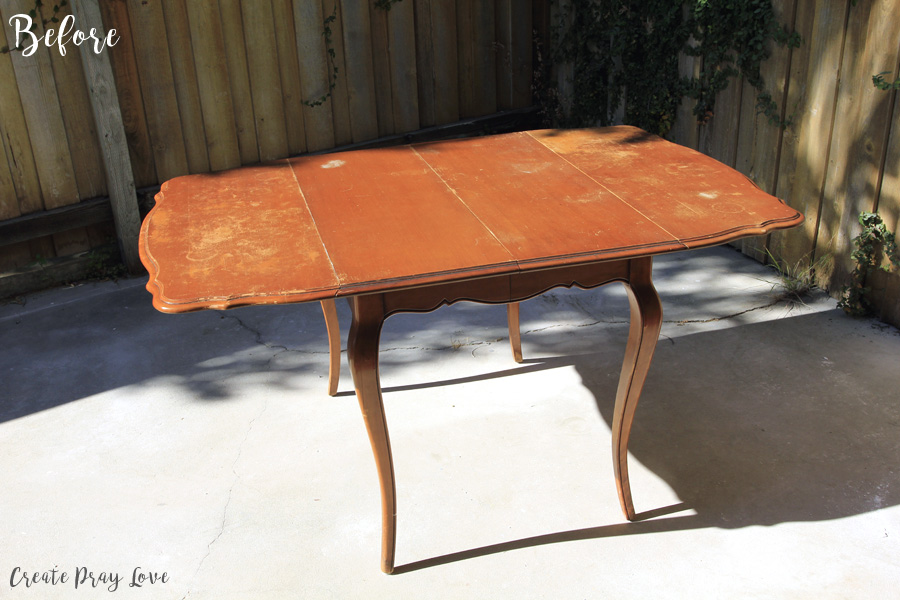
The backstory to how I got this table is actually really cool. My mom bought it for me years ago, as part of a 5 piece dining set, at a moving sale in my Northern California hometown. We hauled everything down to my tiny studio apartment in West LA, only to realize, according to the manufacturers stamp, it was originally made in Culver City- the suburb right next door to me!
I felt like I was bringing these pieces back to where they belonged. And because they had good bones, I knew they had the potential to stay with me forever.
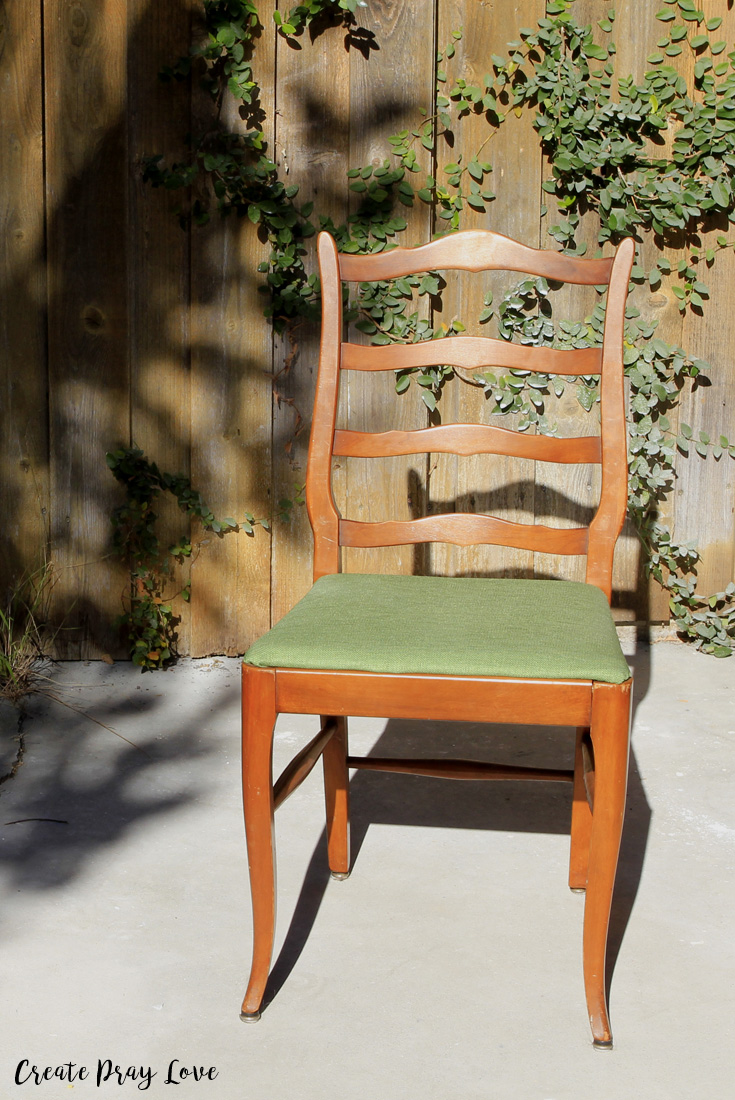
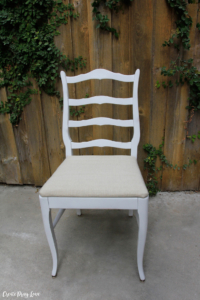
This is one of the chairs which I originally reupholstered green to match my previous kitchen’s color scheme. But as part of this makeover, I used some new farmhouse-style fabric for the seats. Read through to the end for pictures of the final product, and stay tuned for my upcoming reupholstering tutorial!
I re-did our matching coffee table a few years ago, so if you want to read that post, you can do so here.
But right now, I’m going to walk you through how we gave our dining table and chairs a complete makeover.
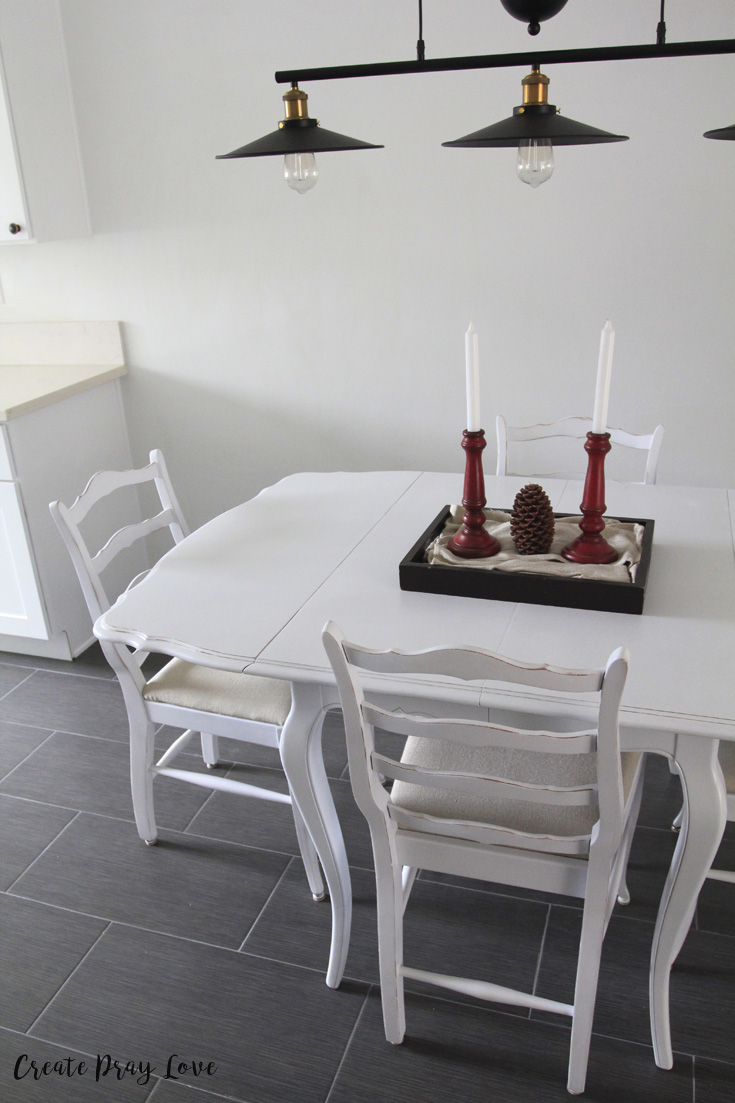
Here’s a sneak peek of the finished product!
So, let’s get started. The first thing you need to do before starting any furniture project is decide whether you’re going to stain it, spray paint it, or paint it.
There are honestly pros and cons to every option. I wanted my table to be all white, and we were advised to go with spray paint so it wouldn’t leave brush streaks. I mean, even though I looove brush marks on most furniture, I wanted to avoid having them on our eating surface. So in the end, we went with spray paint. I’ll share more on my thoughts about our choice at the end.
SUPPLIES LIST:
- Ryobi Finish Sander*
- Sticky Sand Paper Sheets* (for Sander)
- Standard Sand Paper*
- Spackle* and Putty Knife*
- Spray Paint (White Primer)
- Spray Paint (White Semi-Gloss)
- Lacquer Spray Paint (Clear Lacquer)

How We Gave Our Farmhouse Kitchen Table a Makeover
Once we gathered all of our materials, we started to sand everything.
There are some spray paint primers which claim you don’t need to sand everything off when you use them. But we didn’t want to end up doing a ton of white layers to cover up the stain, so we went ahead and sanded everything off. We primarily used our Ryobi electric sander for this, but we used standard sand paper for the spots which were hard to reach with the sander.
Next, we sprayed our table and chairs with primer.
And between the layers of spray paint, we used spackle to fill in any and all wood gaps. It’s something that wasn’t obvious when the table was stained, but when it’s white, you see it.
Then, we did a few coats of white spray paint in semi-gloss, & finally wrapped up the process with a layer of clear lacquer.
I have to be honest. This took us a LONG, LONG time. Oh my goodness. Repainting a dining set is not a project for the faint of heart. We did it on our outdoor patio and it took us about four weekends to finish. UGH.
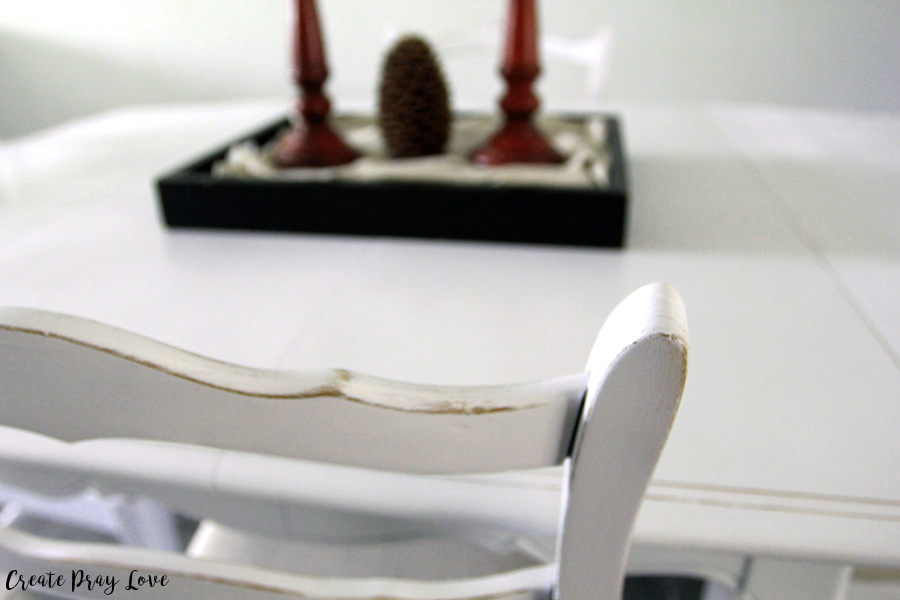
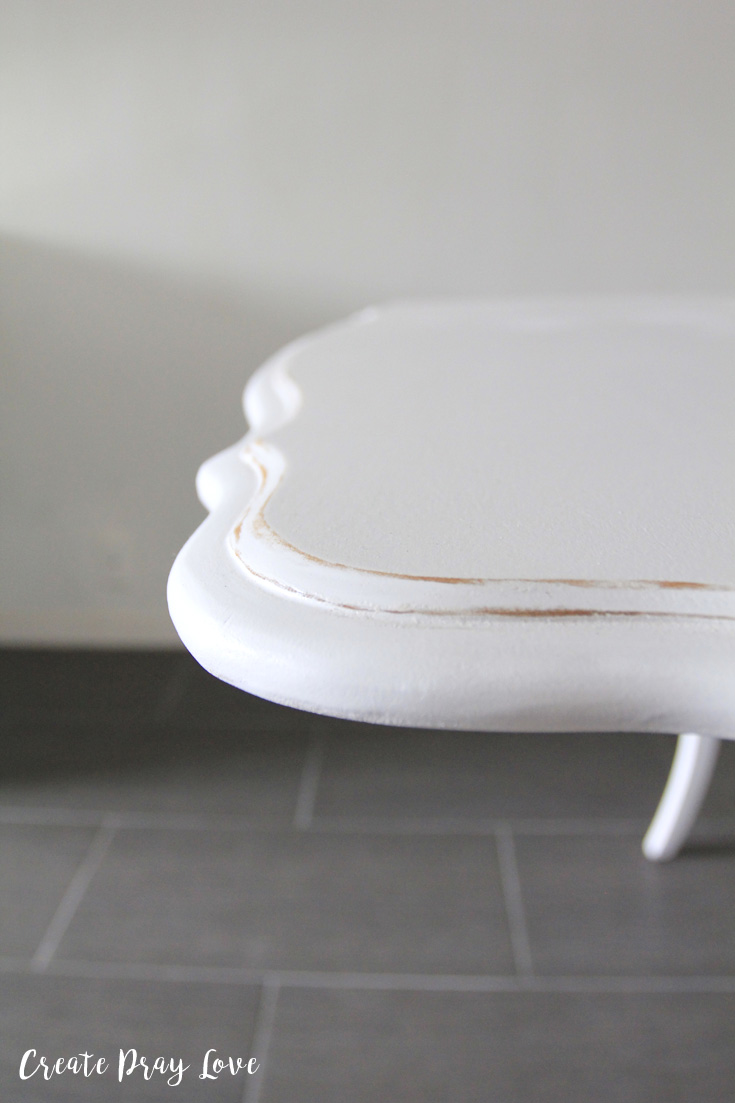
But one thing that did save us a little bit of time was not trying to spray the edges perfectly. I actually used sand paper to sand the edges down & give it more of a rustic feel. And look at how it turned out! I am in love.
My Final Thoughts
Would I use only spray paint again? Honestly, if I could to do it over again, I might consider using a light stain on the tabletop while doing everything else white with standard paint. Why you ask? Well, we had a few spots on the table top where the wood had a pre-existing oil spots of some sort and the spray paint ended up bubbling up on us. We had to do so many touch-ups on these spots, and it never really felt like we got a completely unified look to it. Yes, it’s a hot trend now to stain tabletops, but I can see how it’s also sooooo much easier of a process!
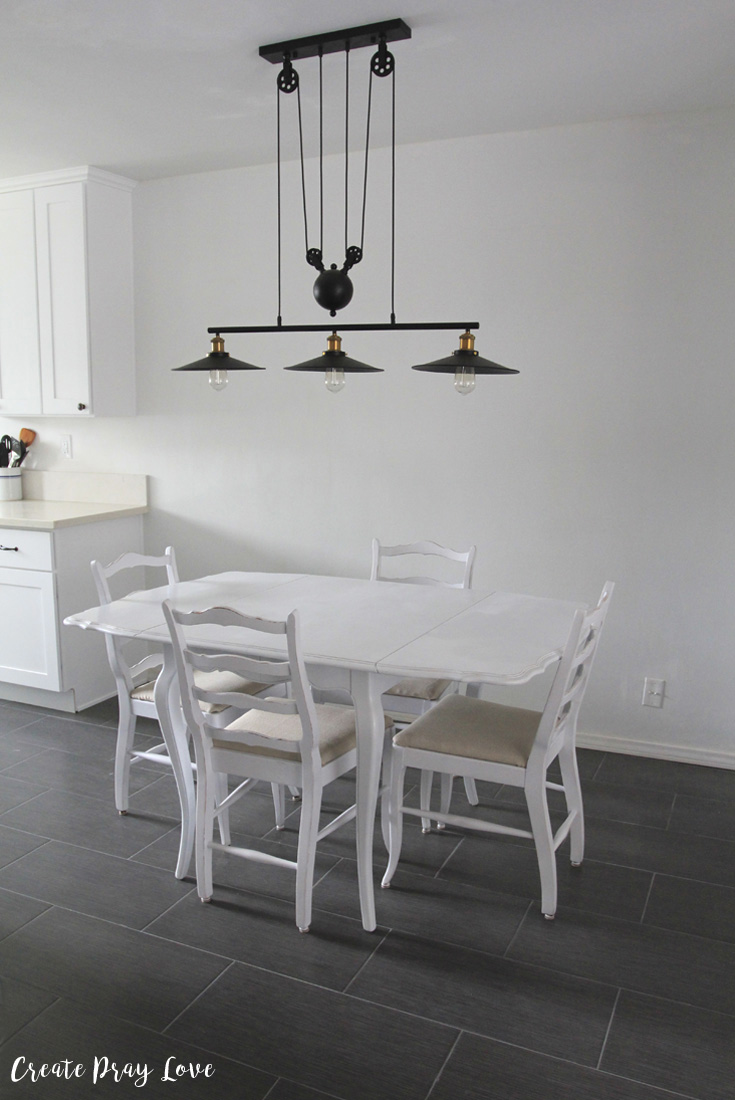
That being said, I don’t think we’ll sand it down & stain it anytime soon. We’re pretty happy with it as is. And I love how our farmhouse kitchen table looks in our dining room! Isn’t it perfect?
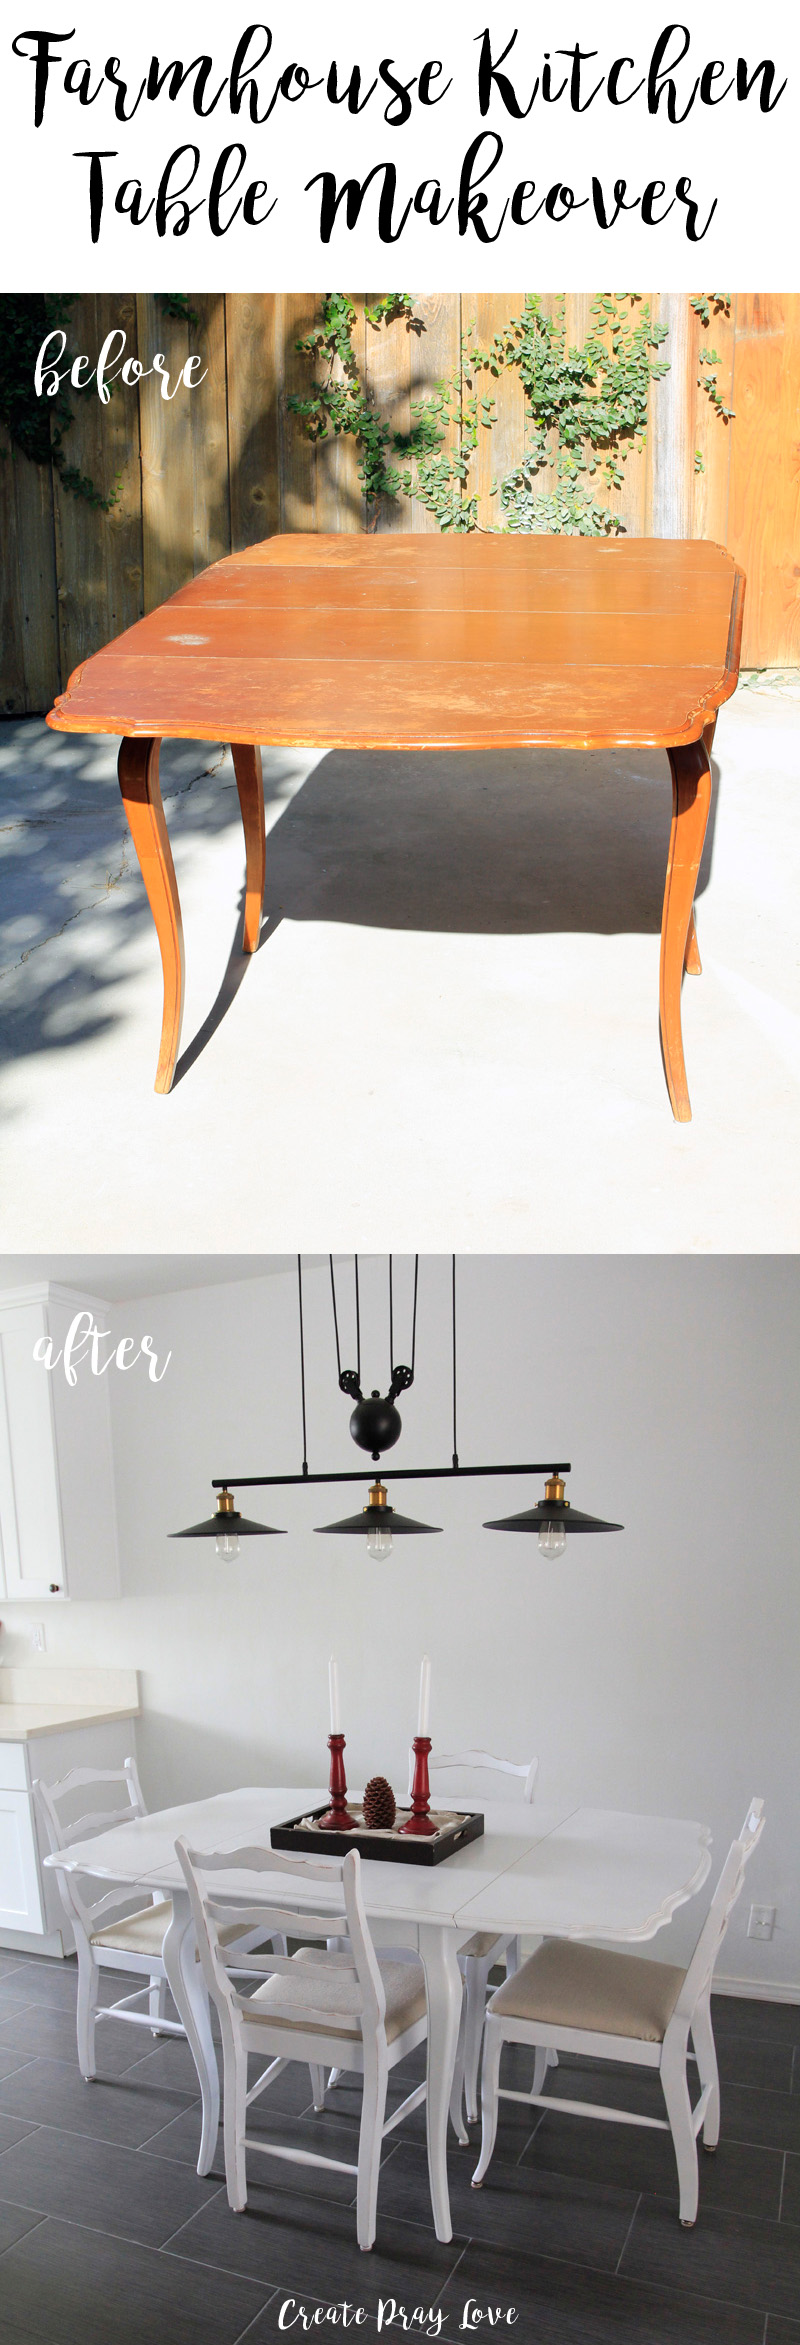
Here’s another before & after pic for you. What do you think?! What a transformation, right?
More furniture projects you may enjoy:
How to Reupholster a Dining Table Chair
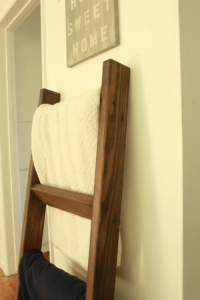
$15 Rustic DIY Quilt Ladder
Vintage Desk Makeover
Rustic Coffee Table Makeover

Connect with me on social media!
facebook - twitter - pinterest - instagram


Lori Kline
February 12, 2017 at 9:16 pmJolene, your table looks wonderful! GREAT JOB!
Create Pray Love
February 12, 2017 at 10:28 pmThank you, momma! 😉
Simple Rustic Farmhouse Spring Centerpiece - Create Pray Love
May 20, 2017 at 7:37 am[…] And if you see how I gave this dining table set a makeover a few months ago, you can see the full tutorial post here! […]