Affiliate links have been used in this post about how to make a Mod Podge Tissue Box. This means I can earn fees by linking to products on websites I am associated with via affiliate advertising programs. Please note that all affiliate links have been marked with an asterisk* such as this. If you have any further questions about this, you can click here to read my policies page.
Should I start this post off with a question?… Or should I say what’s on my mind? (old school Relient K anyone? no? okay, let’s move on, then.)
Happy Friday, everyone! I do indeed have something on my mind today, as Relient K so perfectly put it, & its my lovely travel-themed mod podge tissue box.
This project is actually what made me fall in love with Mod Podge! I really liked the idea of having a tissue box that matched the rest of my living room decor, so when I saw the supplies during one of my trips to Michaels craft store, I knew what I had to do.
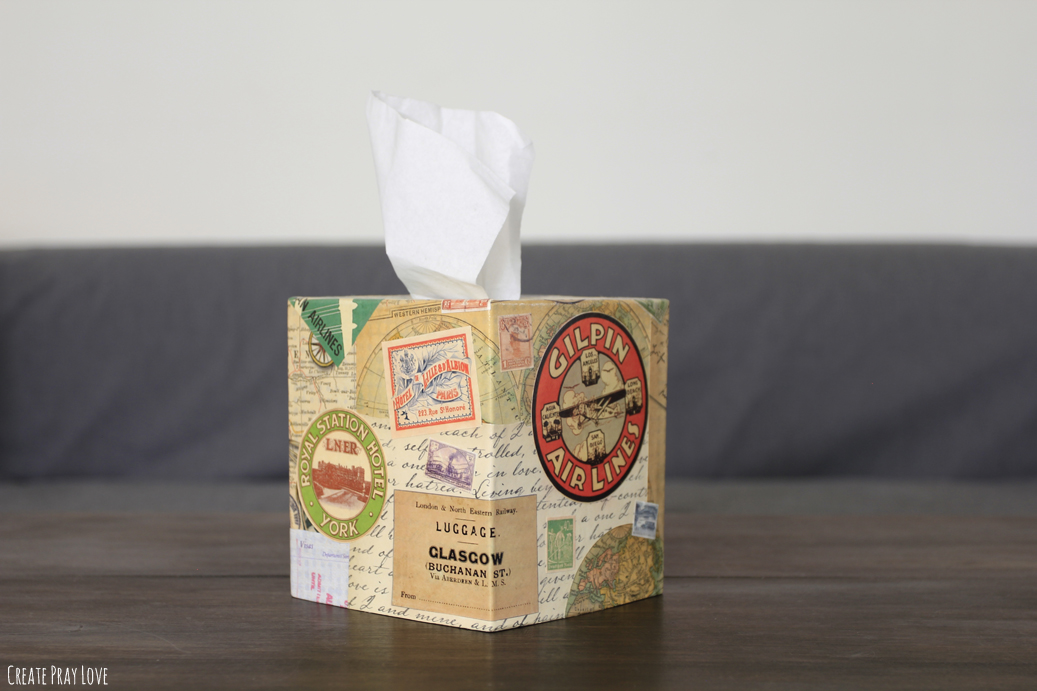
Making one for yourself is actually pretty easy, too, & I did it for around $6!
Here’s what you’ll need:
- Paper Mache Tissue Box (the one I got doesn’t exist anymore, so this is a similar one at Amazon)*
- Mod Podge*
- Foam paintbrush (for applying the Mod Podge)
- Your choice of scrapbook paper & logo printouts
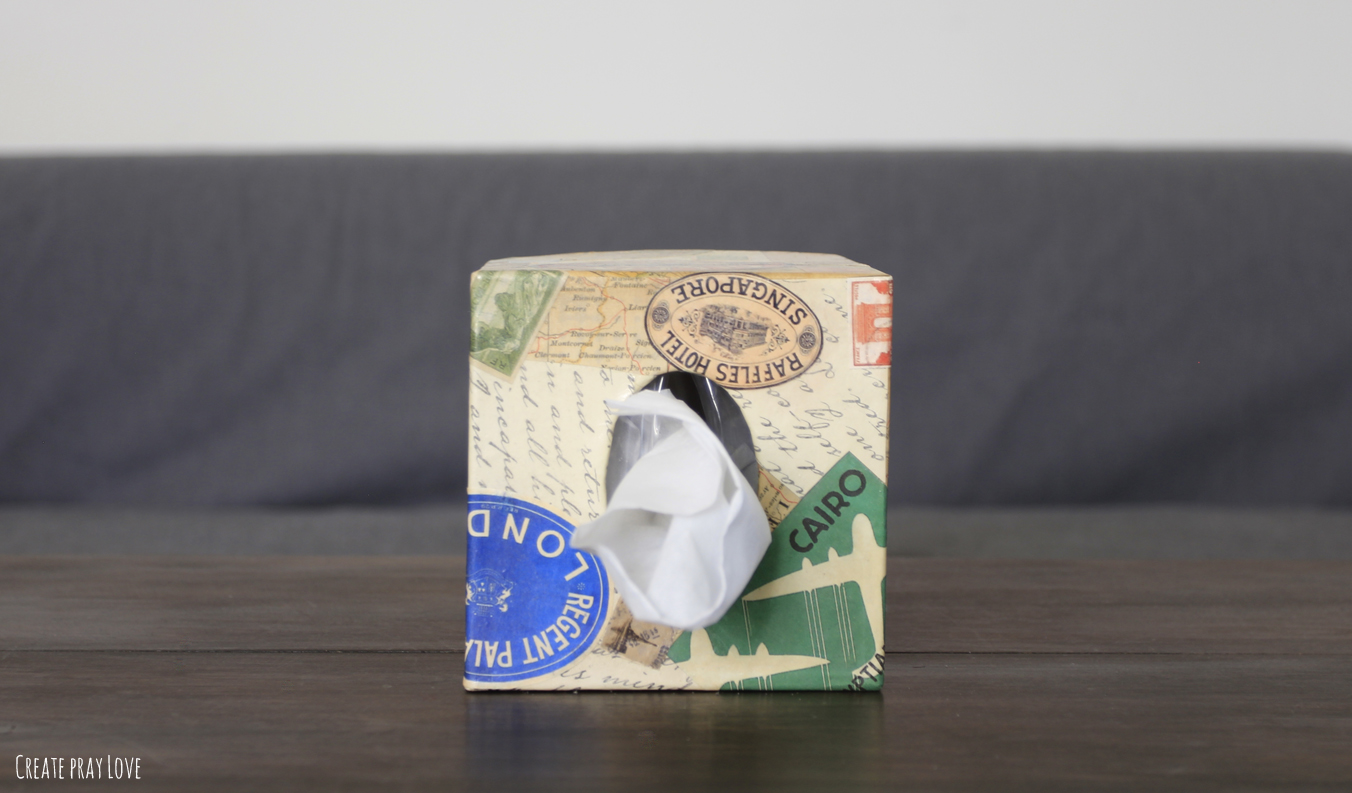
How to Make a Mod Podge Tissue Box
I used two different pieces of scrapbook paper; one was a rustic map, & one had writing on it.
I scoured the internet for free images of old luggage tags, hotel logos & stamps. If you’re interested, there are also plenty of these available for purchase on Etsy as an instant download- and only for a few bucks!
When it came to printing them out, I used standard printer paper because I knew that cardstock would be too thick to really work well with Mod Podge.
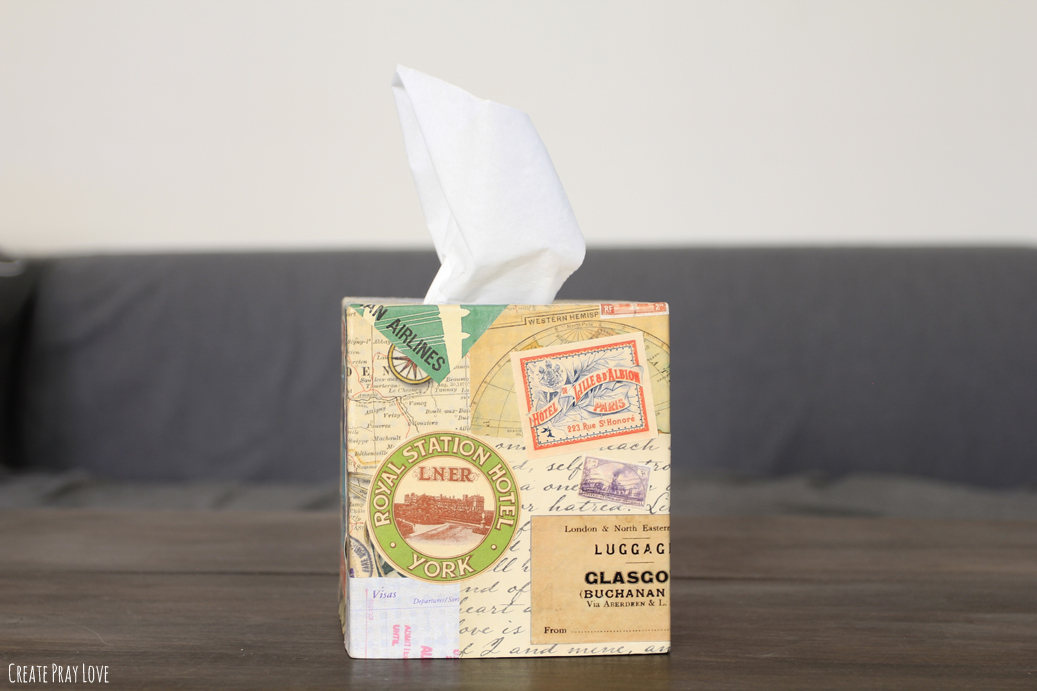
The final steps are to pick the parts of the scrapbook paper you want featured on your final product & paste them to the tissue box. Then, finish it out by pasting on all the images you’ve printed & cut out.
Because I’m a perfectionist, I spent a little bit longer on this one attempting to make it look perfect, but all in all it really didn’t take too much time.
If you want to protect your project, coat your box with one last layer of Mod Podge. I like to use the matte finish so that it’s not too shiny.
Aaaand that’s it, folks! Leave questions in the comments below & enjoy!
Other craft projects you may enjoy:
How to Make a DIY Farmhouse Chalkboard Frame
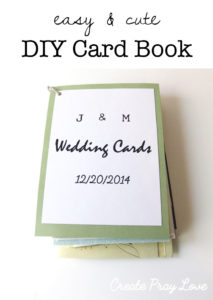
Easy & Cute DIY Card Book
Coffee Filter Flowers Tutorial
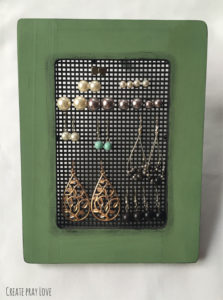
DIY Earring Organizer

Connect with me on social media!
facebook - twitter - pinterest - instagram

DIY Farmhouse Style Shiplap Tissue Box - Create Pray Love
March 11, 2017 at 12:31 pm[…] community for a while, you may remember that I did a similar tissue box makeover a while ago that was vintage European travel-themed. I loved it, but I was ready to change things […]