Affiliate links have been used in this post about how to reupholster a dining table chair. This means I can earn fees by linking to products on websites I am associated with via affiliate advertising programs. Please note that all affiliate links have been marked with an asterisk* such as this. If you have any further questions about this, you can click here to read my policies page.
Hi friends! So remember a few months back, when my husband & I got the bright idea in our heads to give our dining table & chairs a makeover right after we moved into our new place? It took us hours of sanding & spray painting to get the job done, but boy was it worth it!
Today I want to continue the tutorial by talking to you about how I reupholstered our chairs after they were all painted & looking pretty.
If you’ve never tried to reupholster a dining chair before, it can actually be super easy. So don’t be scared! This tutorial will show you exactly how you can turn a thrifted chair into a piece that you love & is just right for your home.
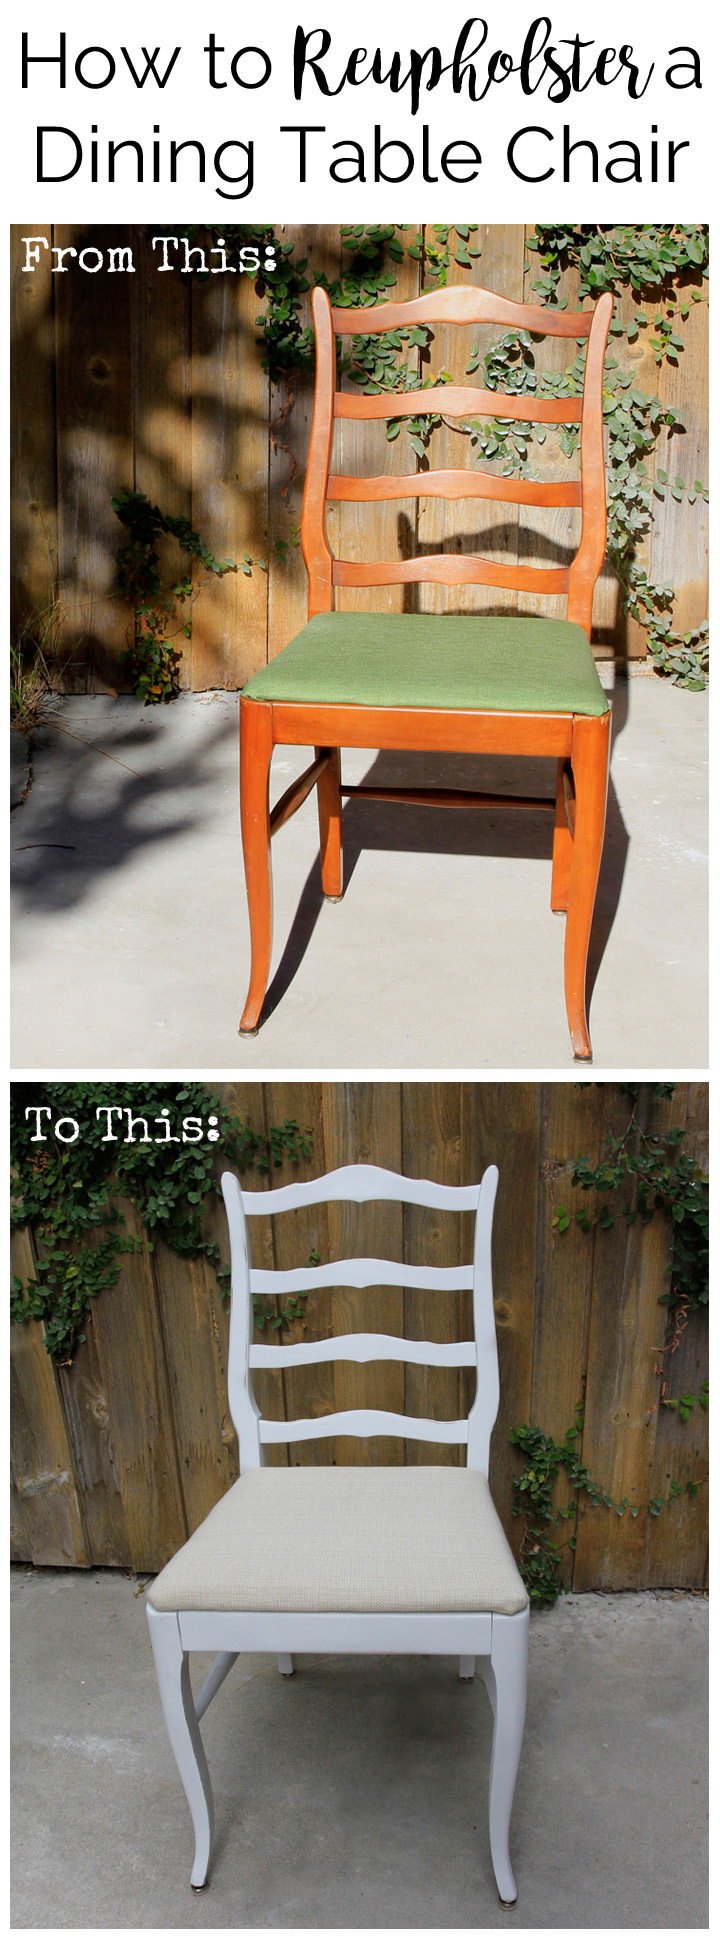
First, let’s take a peek at some before & after pictures of my chair. Quite a difference, huh?
SUPPLIES I USED:
- Tablecloth* (any sturdy material works for this though)
- Measuring tape*
- Staple gun*
- Staples*
I’ve also linked these products here for you. Just click on the images to open them up a new tab!
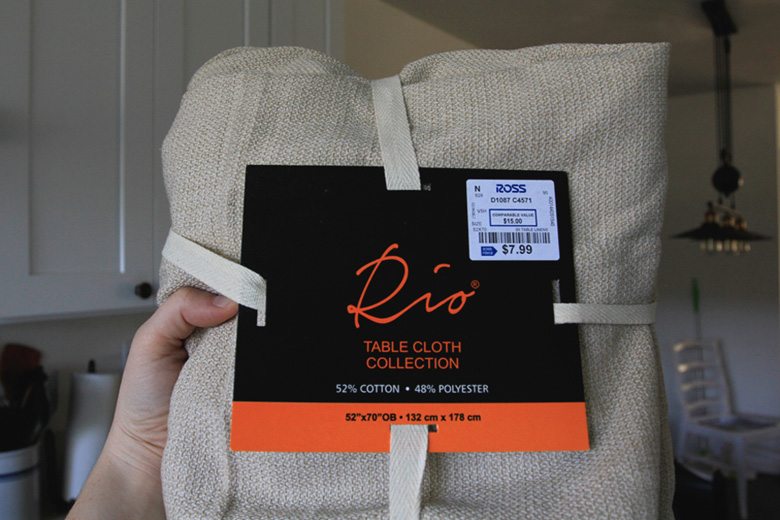
Just a side note: I love using tablecloths for projects like this because they’re sturdy & can give you the best bang for your buck. After covering my four chairs with this natural linen tablecloth that I got for $8, I still have plenty leftover for other projects! Win.
HOW TO REUPHOLSTER A DINING TABLE CHAIR
Step 1: Remove the Seat
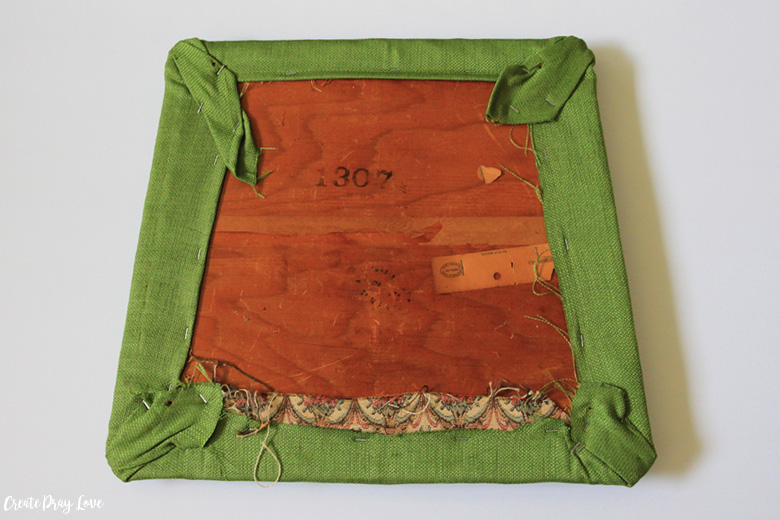
If your chair is anything like mine, there will be screws holding it into place on the chair frame.
Mine had four, one in each corner, & if you look at the below picture you’ll be able to see the holes in the old material where the screws went through.
Simply unscrew those bad boys & the seat should come right off!
Step 2: Prep Your Material
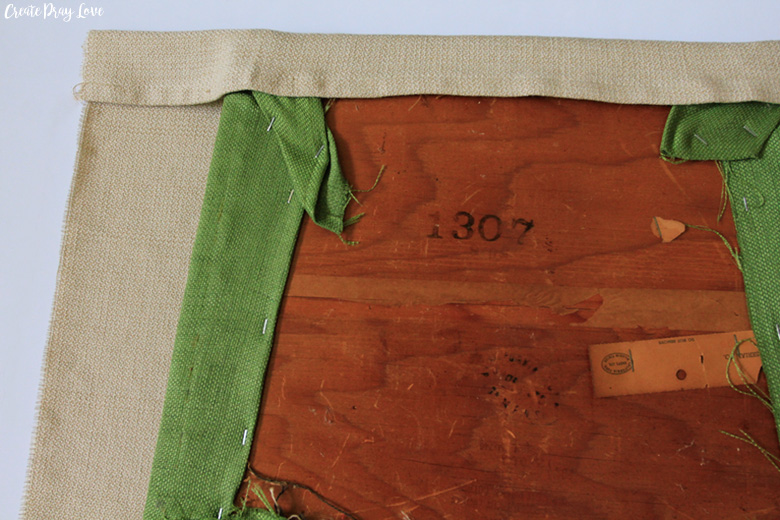
First, you need to cut the material so that there are about three extra inches of it on each side.
Then you can go ahead & iron it & then fold it over the sides of the seat so it’s ready for stapling.
Step 3: Start Stapling!
You will want to do at least three staples on each side. Just make sure that the material is being pulled tight over the top of the seat along the way.
Then, once you have all those staples in place, you can move on to the corners where the material folds over. I recommend doing three staples in each of those spots as well.
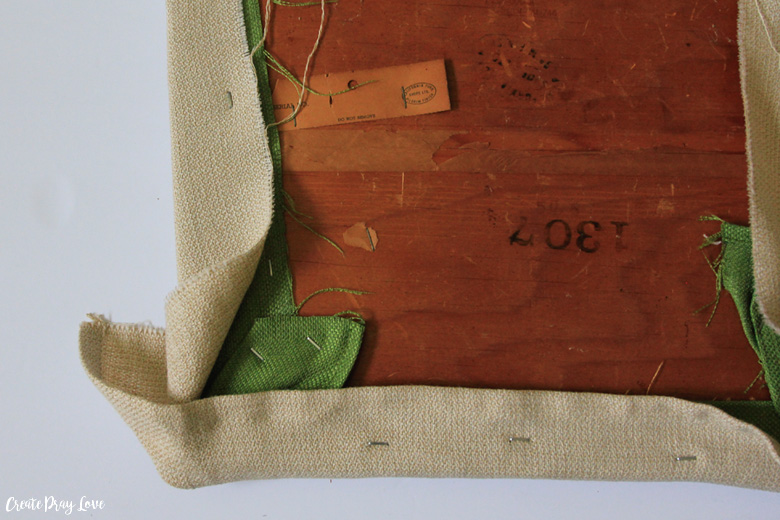
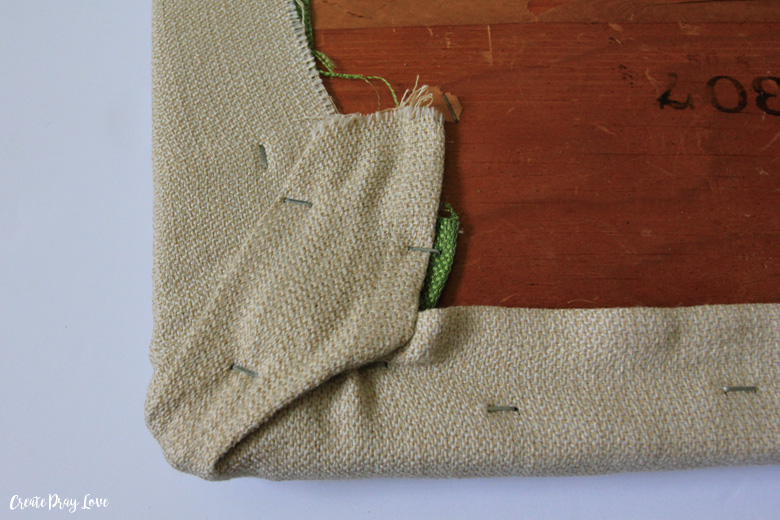
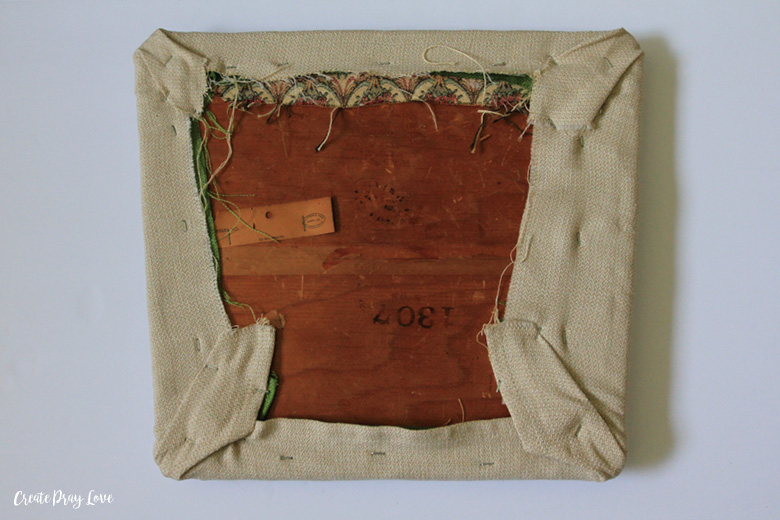
This is what it will look like when it’s done!
And remember, no one sees this part, so it doesn’t have to be perfect. 🙂 Isn’t that a relief?
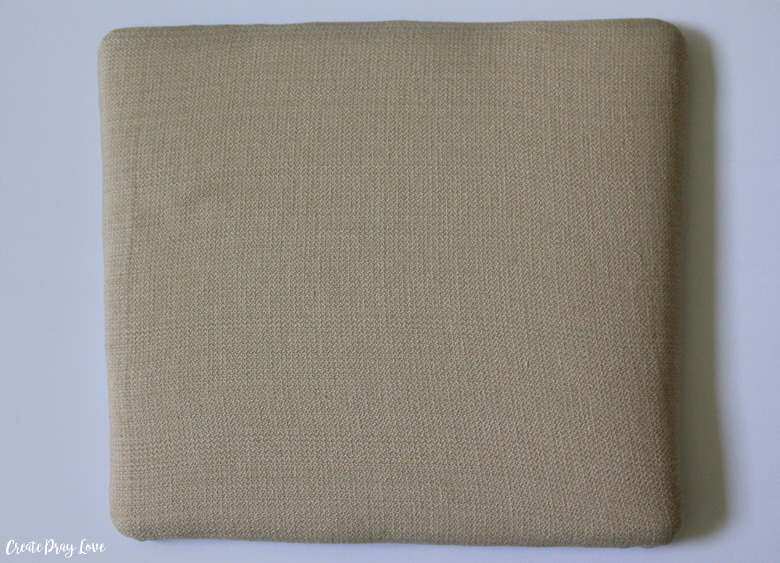
Step 4: Screw the Seat Back Onto the Chair
This step is pretty self-explanatory, but I thought I’d be thorough & mention it. You’ll just want to secure the seat on the chair frame again & then you’re all done!
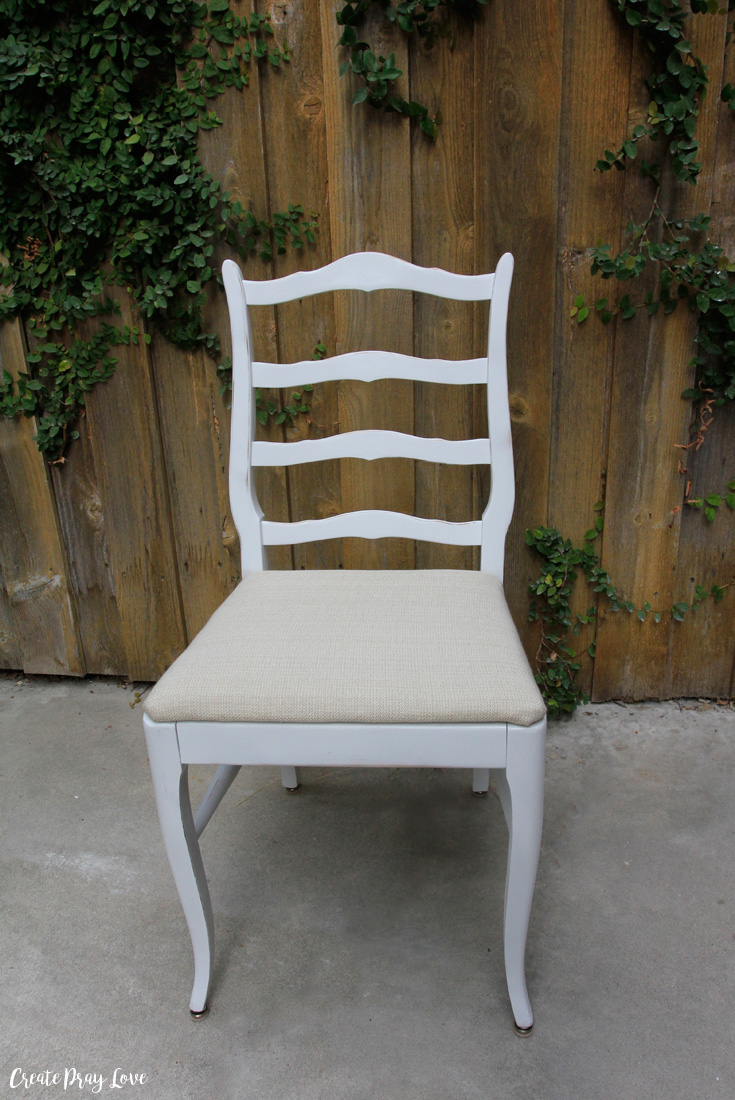
How much better does this chair look than when I started?! Oh my goodness.
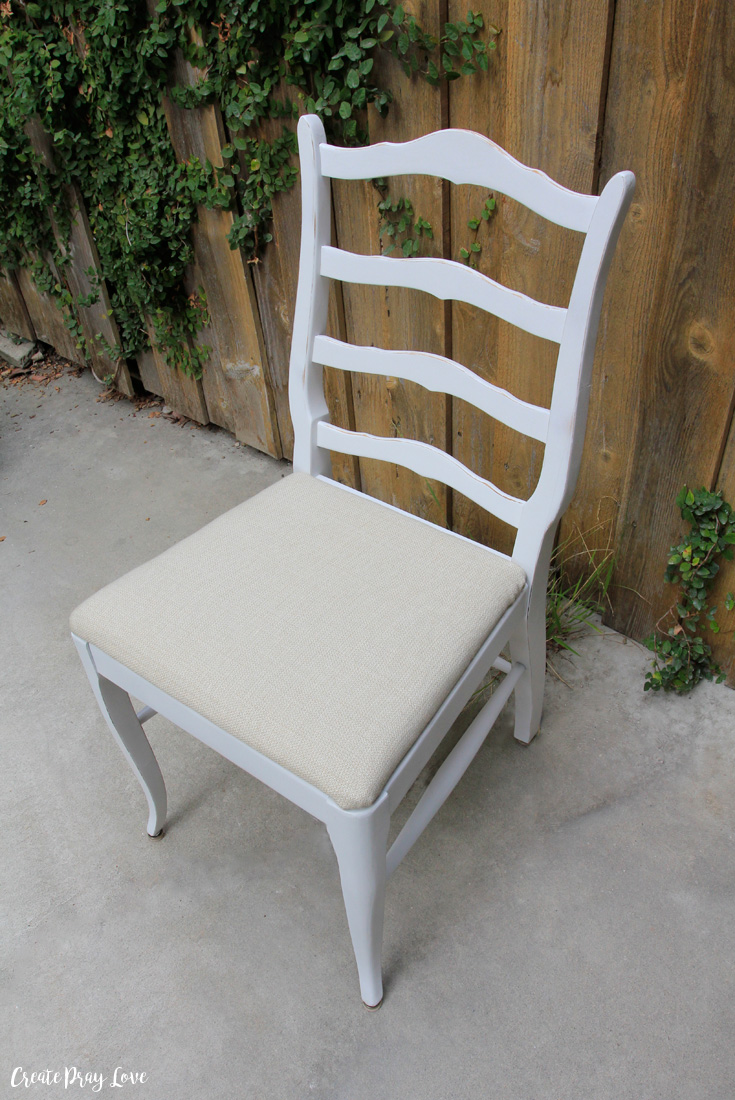
I am so happy with how they all turned out. 🙂
Have you ever tried to reupholster a chair before? I’d love to hear from you about this in the comments!
Oh, & don’t forget to read the full table makeover post here where I share my tips & tricks for spray painting!
More furniture posts you may enjoy:
White Farmhouse Kitchen Table Makeover
$15 Rustic DIY Quilt Ladder
Vintage Desk Makeover
Rustic Coffee Table Makeover

Connect with me on social media!
facebook - twitter - pinterest - instagram

Habiba
June 8, 2017 at 10:04 amHey Jolene, I actually did upholster a view chairs before…I did it the same way you did! It was pretty easy, and I think it’s a super way to 1. save a buck or two and 2. to keep chairs in your home, that you connect certain memories to. Love how you presented the how to!!!
Morgan
June 8, 2017 at 12:39 pmThis method is my favorite kitchen room “refresh.” I love switching out the fabric every 1 1/2 or 2 years. Super cheap when using a coupon for JoAnn’s (I think last time I paid less than $7 for all 4 chairs! Score!). I love your tip about the table cloth! I have used table cloths for making pillows, but hadn’t thought about chair covers-great thought! 🙂 Thanks for sharing!
~Morgan
Jessica
June 9, 2017 at 6:13 pmLooks so great! Amazing what paint and fabric can do. So smart to use a table cloth too!
All Things Big and Small
June 14, 2017 at 9:18 amI love how they turned out! That gray is such a pretty understated color! We did the same thing to our old kitchen chairs and what a difference it makes!