Affiliate links have been used in this post about how to make an Easy & Cute DIY Card Book. This means I can earn fees by linking to products on websites I am associated with via affiliate advertising programs. Please note that all affiliate links have been marked with an asterisk* such as this. If you have any further questions about this, you can click here to read my policies page.
Let’s start this blog post off with some backstory!
I’ve always had a habit of holding on to almost every card I’ve been given, & up until a few years ago it was still at a manageable level.
Then, I got married, & I suddenly had many, many more cards to add to my collection. It was one hot mess, so I went scrounging through Pinterest (seriously what was life like before Pinterest?) to see if I could find a good solution. And guys, I found one! Thanks Something Turquoise for the inspiration!
And, before we move on, let me tell you that this is a no-brainer project.
You know, the one where you only have to spend a few minutes prepping & then you can pop in a good DVD, drink something warm… & go to town? Yep! Then, in the end, you have some cute books & a super organized card collection.
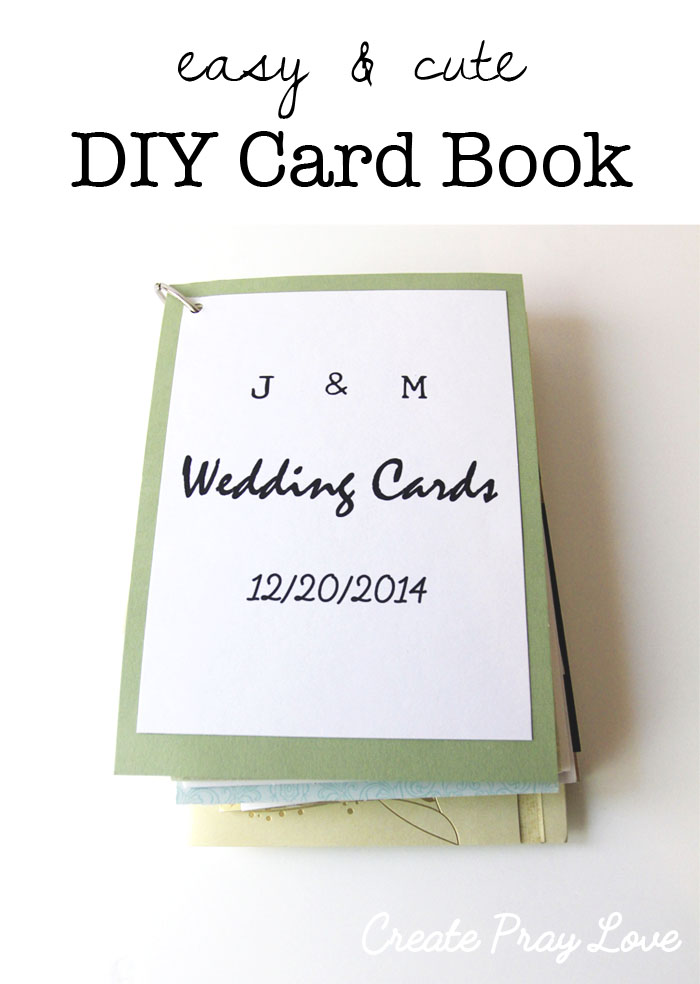
SUPPLIES LIST:
- Binder Rings (various sizes)*
- Scissors
- Scrapbook Paper
- White Cardstock Paper
- Printer
- 1-Hole Punch*
- Tape Mounting Squares*
How to Make a DIY Card Book
Step 1: Organize Your Cards into Groups
You can do this by event, or by category. For example, I had a group for all the cards from my wedding day (event), and also a group for my friends wedding invitations (category).
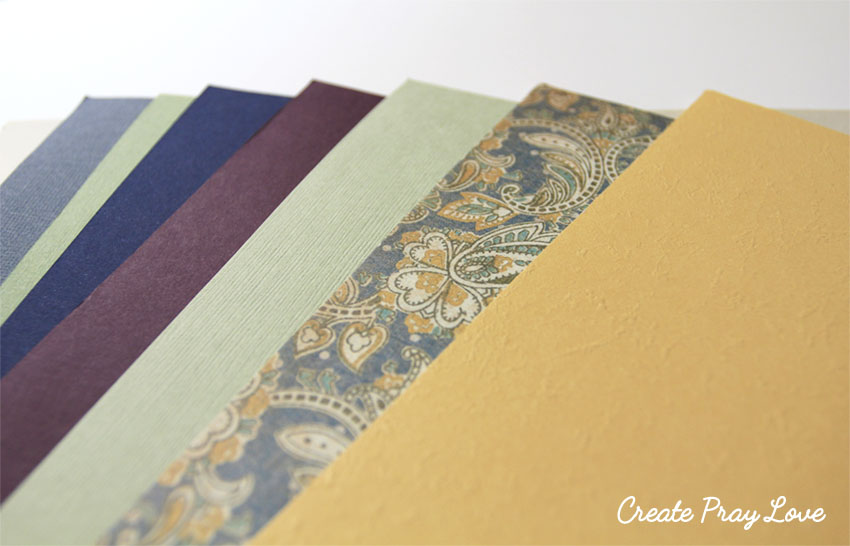
Step 2: Pick Out Some Fun Paper For Your Covers
This part was fun for me! I haven’t scrapbooked lately, so I tend to forget how many pretty sheets of paper are hiding away in the closet.
Step 3: Hole Punch Your Cards
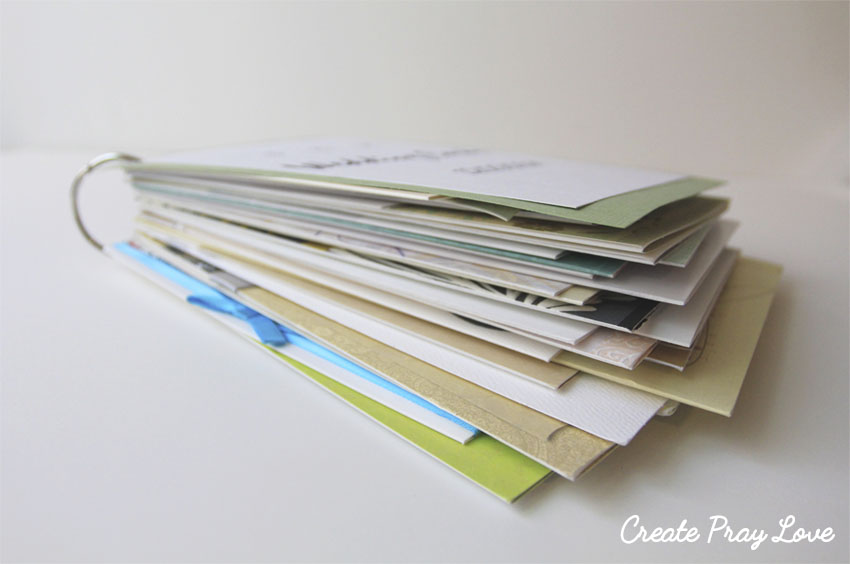
Next, you’ll create holes in the top left corners of your cards. Make sure you have a good quality hole punch, because some of the cards can be really thick.
Step 4: Slip Your Cards Onto the Binder Rings
Now is the time to determine how many groupings of cards you’ll have. I split my wedding day cards into two parts because there were too many of them for one binder ring. Once you’ve done this, you can put the cards onto the binder rings!
Step 5: Make a Custom Cover for Each Card Book
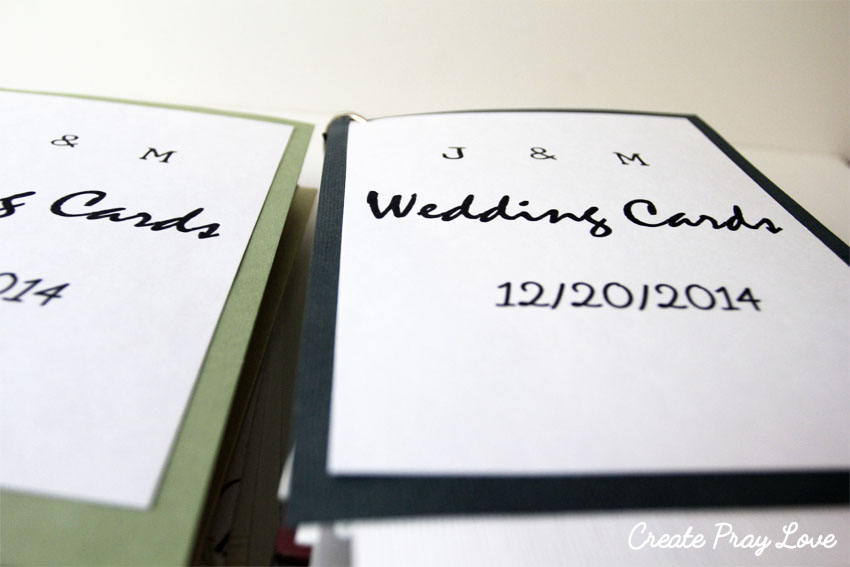
Measure out beforehand how big your cover will have to be, & make sure it’s at least the same size as the largest card in the book. Then, cut your scrapbook paper accordingly.
Next, you will use a word processing software to create a title page. Pick some fun fonts for this part! 🙂
And once you have printed the title page onto white cardstock, cut it to be a little bit smaller than the scrapbook paper & paste it on top with tape squares.
Your final part of Step 5 is to punch a hole in your cover & slip it onto the binder ring with your cards.
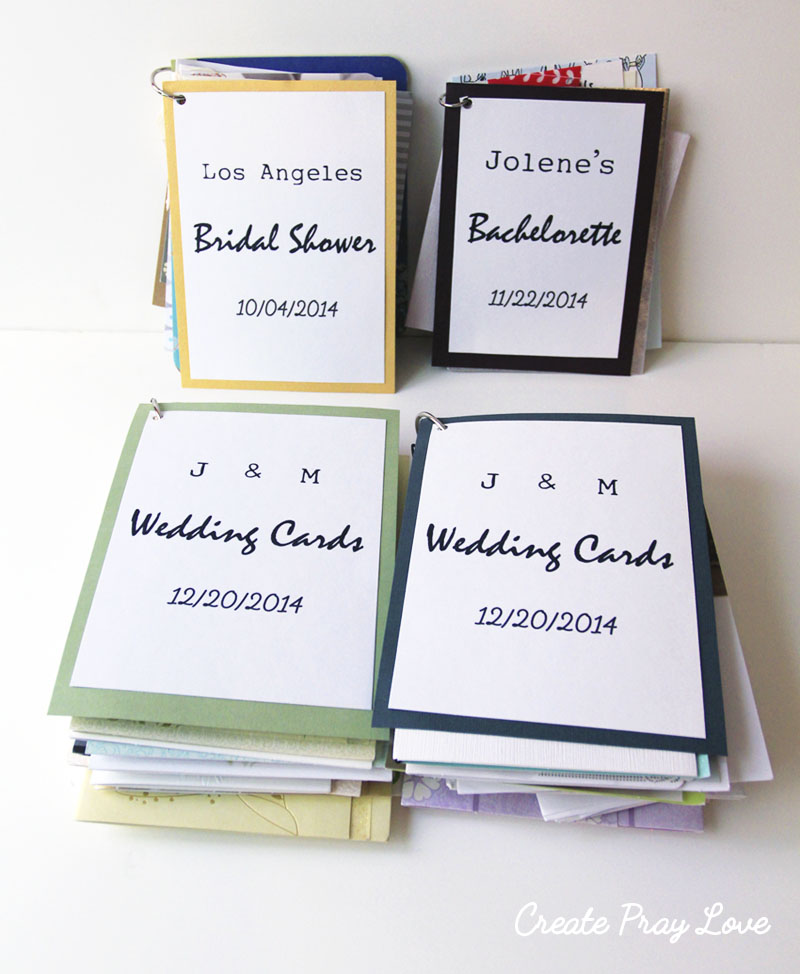
I did about six of these in one afternoon, & most of them are pictured above!
I think each DIY card book is so adorable, & I love being able to flip through them without being afraid that my cards will fall out of order.
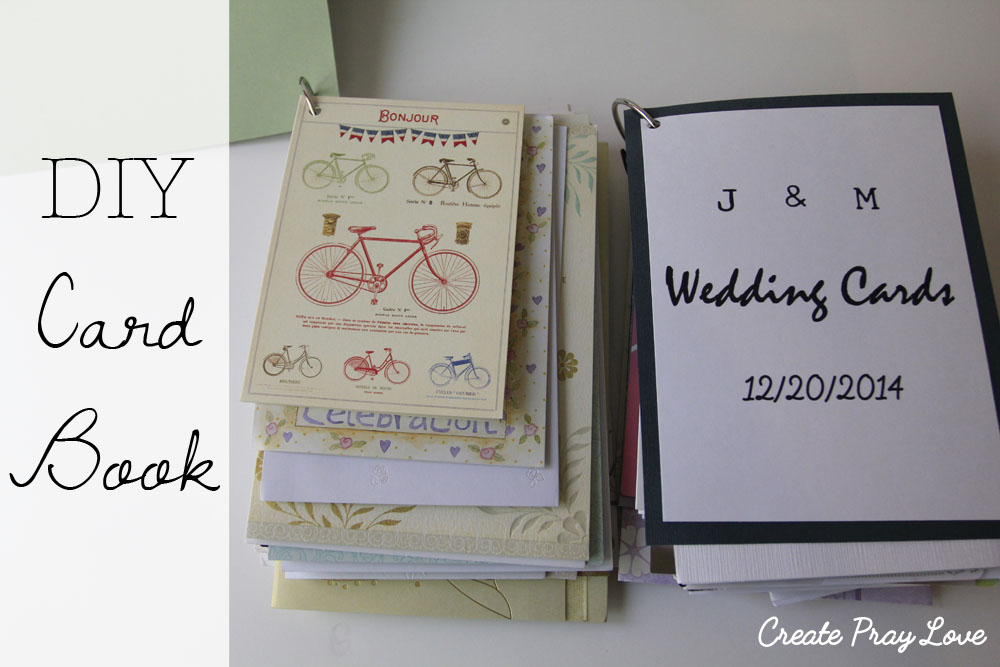
How do you deal with your card clutter?
More crafty posts you may enjoy:
How to Make a DIY Farmhouse Chalkboard Frame
Coffee Filter Flowers Tutorial
DIY Earring Organizer
Travel Themed Mod Podge Tissue Box

Connect with me on social media!
facebook - twitter - pinterest - instagram

Paint It White
September 13, 2016 at 2:05 pmThat’s such a lovely idea. I have held onto cards from my children for decades and only last week came across them again and now I think I know what to do with them. I also have so many cute drawings they did in school etc. and their old santa clause letters so I’m thinking now I can combine the whole lot in a nice cute ring binder. Thanks so much for the inspiration.
Marie
Create Pray Love
September 13, 2016 at 2:15 pmMarie, SO glad this post inspired you!! I’d love to see the end result of how you end up putting everything together! 🙂 <3
Emma
September 14, 2016 at 12:35 pmWhere has this been all my life! Great project
Patty Greenbacker
January 31, 2017 at 4:19 amI love this idea! Super cute! Thanks for sharing!
God bless,
Patty
Create Pray Love
February 1, 2017 at 1:47 pmThanks so much, Patty! 🙂
Jessica
March 28, 2017 at 4:52 pmThis is such a great idea, thanks so much for the great tutorial!
Create Pray Love
April 5, 2017 at 12:54 pmThank you, Jessica! 🙂
How to Make a DIY Earring Organizer in 3 Simple Steps
December 27, 2017 at 2:08 pm[…] Easy & Cute DIY Card Book […]