Affiliate links have been used in this DIY Industrial Farmhouse Command Center tutorial post. This means I can earn fees by linking to products on websites I am associated with via affiliate advertising programs. Please note that all affiliate links have been marked with an asterisk* such as this. If you have any further questions about this, you can click here to read my policies page.
Hi friends! So I have to start this post off by letting you know that I’m finally going to start sharing more wall decor projects with you here on the blog.
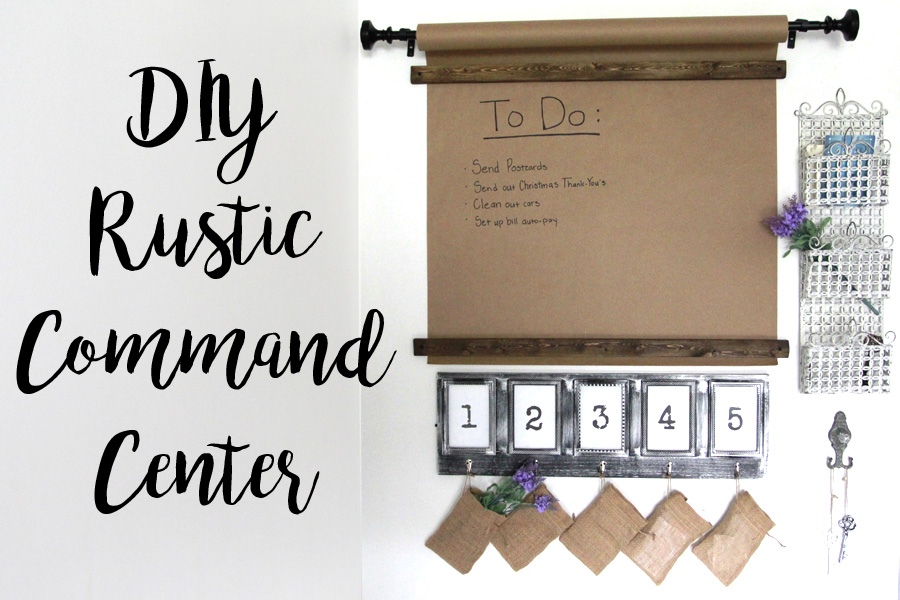
And today I am sooo excited to give you all a tour of my industrial farmhouse command center!
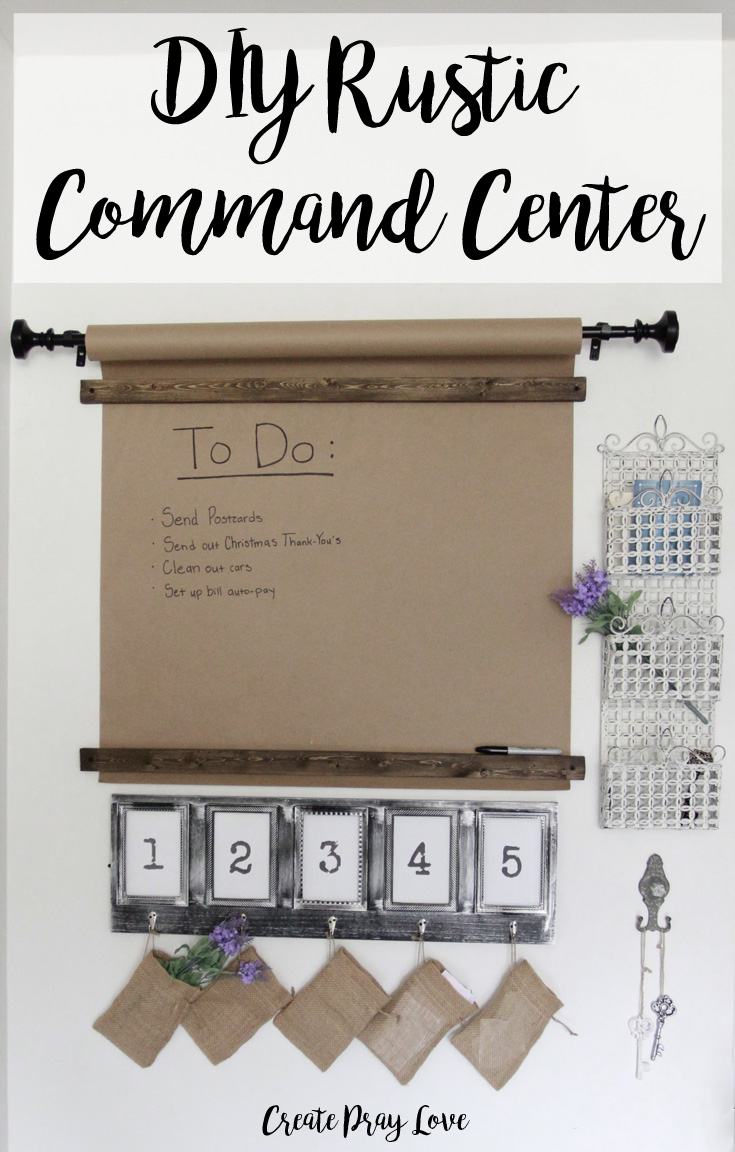
WHAT YOU’LL NEED:
- Curtain rod*
- Large brown paper roll*
- Wood pieces (mine were 1 in. x 1.5 in. x 32 in. each)
- Drill*
- Black drywall screws*
- Standard screws
- Sharpie pen*
- Mail organizer* (similar to mine)
- Frame with built-in hooks*
- Burlap bags*
- Wall hooks for keys*
- Vintage keys (for decoration)
- Faux lavender bushels* (for decoration)

HOW TO MAKE AN INDUSTRIAL FARMHOUSE COMMAND CENTER
STEP 1: SET UP A WAY TO ORGANIZE YOUR MAIL
I’ve actually had this mail organizer for over five years now! And because it’s worked so well up until now, we were super excited to incorporate it into our command center as our primary way of sorting incoming & outgoing mail. I love not having that stuff stacked on our kitchen table, thank you very much!
Also, don’t you love the chippy white look it has going on? I do!
(A mail organizer similar to this one can be found here* on Amazon.)
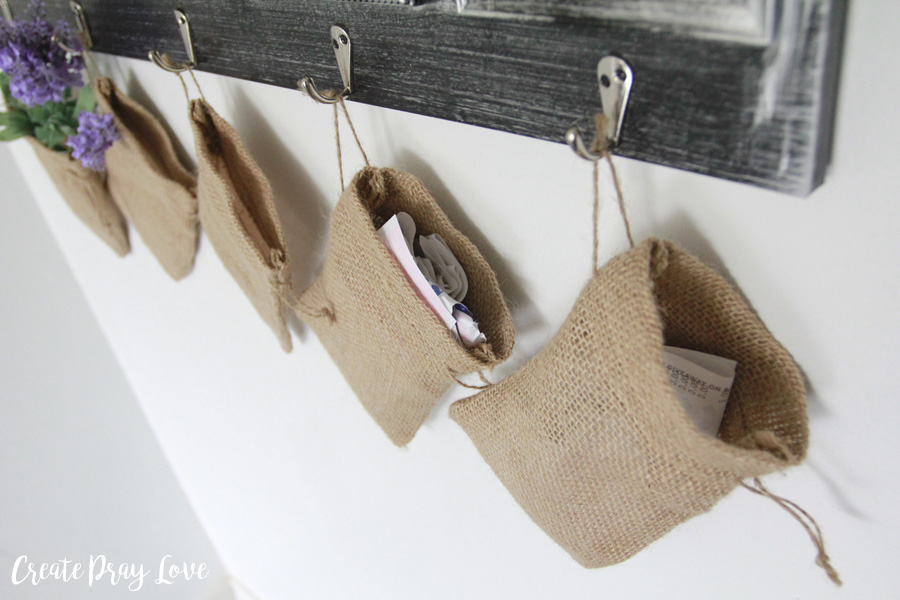
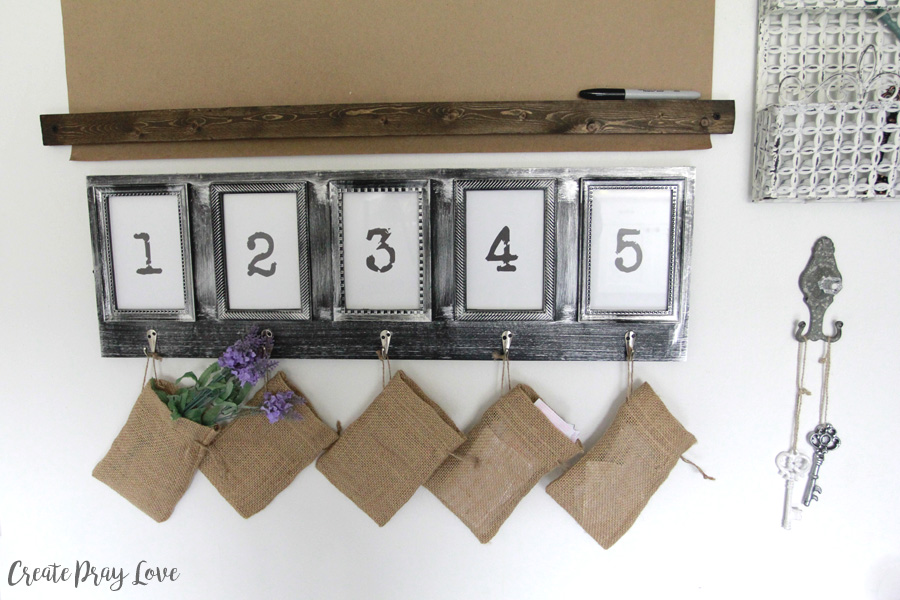
STEP 2: ORGANIZE RECEIPTS & COUPONS WITH BURLAP BAGS
When it comes to dealing with small paper clutter, I really wanted to find something new & unique that would work for us. We’ve tried many things before that flopped big time. (I talk about this more in a guest post over at Beauty in the Mess which you can read here.)
So, this new solution started to come together when I found a faux galvanized metal frame during one of my discount store shopping trips. Then I bought five burlap favor bags* to hang on each of the hooks to hold receipts, coupons, & even my husband’s running sunglasses!
I love how they add a rustic touch to our command center, & also how they hide away the clutter so well.
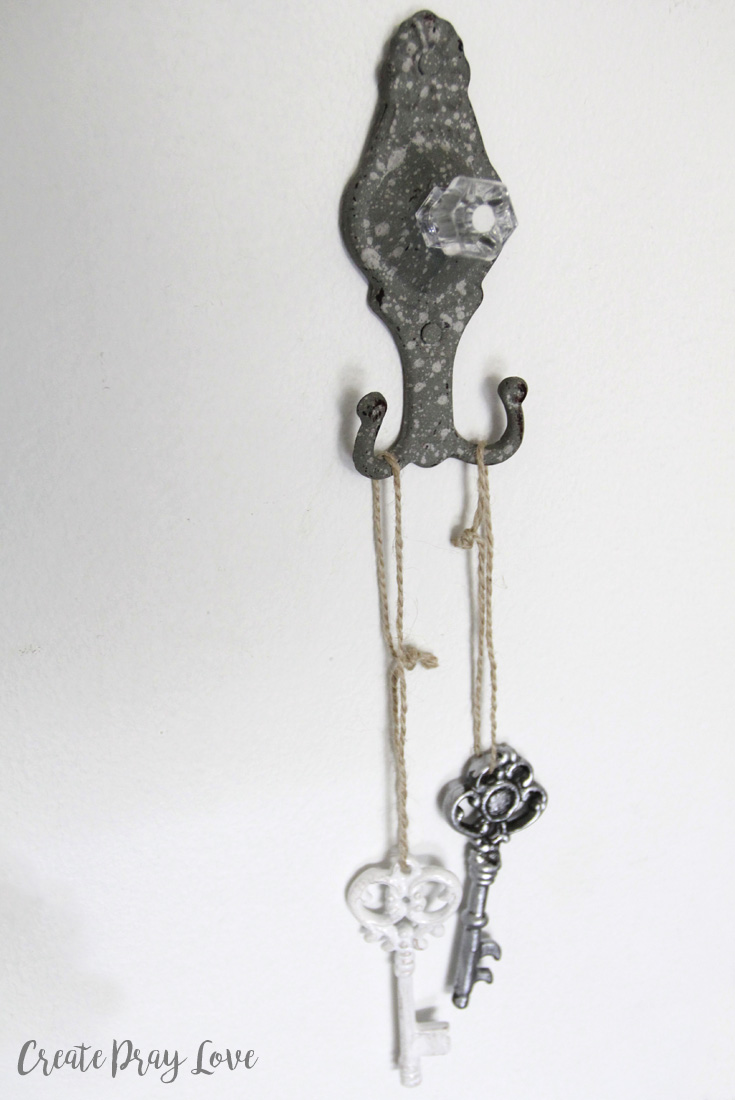
STEP 3: HAVE A DEDICATED PLACE FOR YOUR KEYS
Let’s be real, if you don’t have a dedicated place for your keys somewhere by the front door, who knows where they’ll end up. Right? I mean, mine are always in my purse, but my husband’s are a different story.
So, I definitely appreciate having this vintage key hook knob in our command center. I even bought a few faux antique keys to hang on the knob full-time, just for fun.
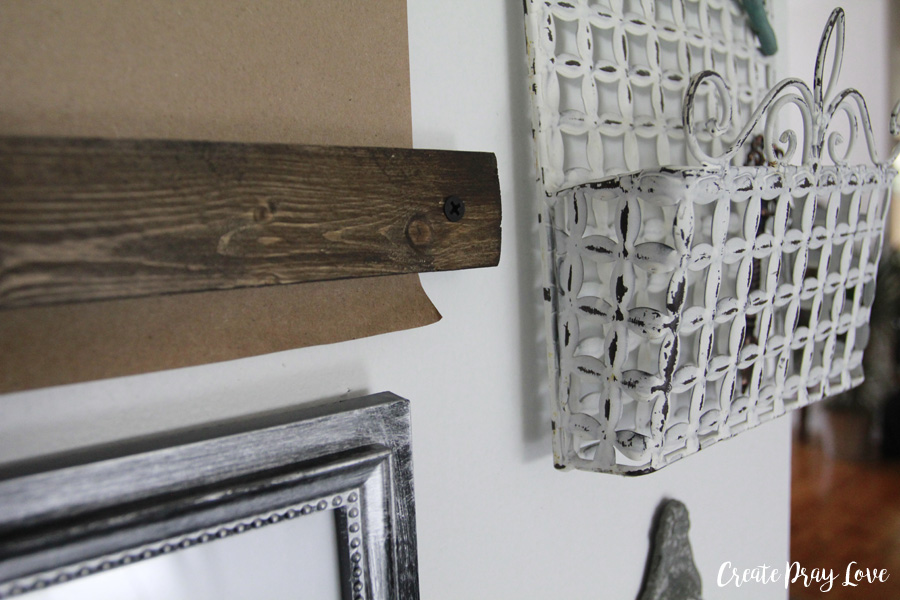
STEP 4: CREATE AN OVERSIZED TO-DO LIST
And now we get to the my favorite part of the command center- my oversized brown paper roll to-do list!
I started out with a black curtain rod* that I found on a deep discount shelf & three brown paper rolls from the dollar store that I simply taped together to make a longer roll.
Then, I bought an 8 ft. long piece of wood from Home Depot (for 85 cents!) & cut it into two pieces that were just a little bit wider than my paper roll. Those two pieces got stained & then I screwed into the wall with black drywall screws.
And it really was easy as that!
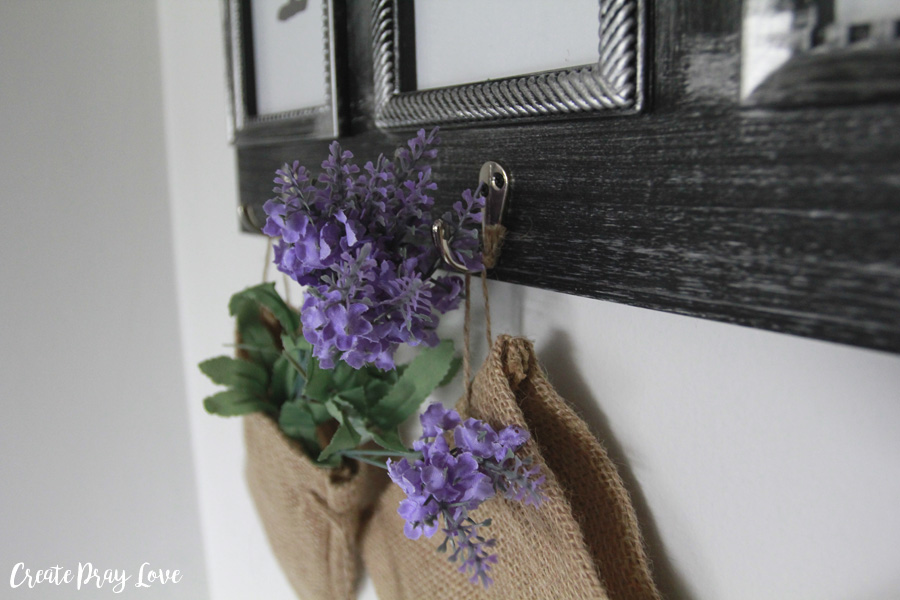
One of my favorite things about this command center is how well all the different textures mix together.
Stained wood, chipped white paint, & galvanized steel… be still my heart.
If you’re in the process of creating a command center right now, my biggest tip for you is to cater it to your needs.
As you may have noticed, we didn’t include any type of calendar in our command center. This is mostly because my husband & I throw everything into our shared Google calendar nowadays, & we didn’t want to duplicate our efforts.
Overall, I am so happy with the final product.
And I can’t wait to see how it helps us stay better organized over the next few months!
What’s one thing you’d need or want in your farmhouse command center?
Other farmhouse style DIY projects you might like:
White Farmhouse Kitchen Table Makeover
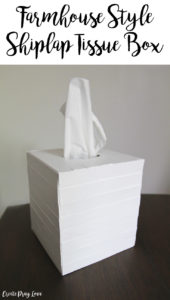
DIY Farmhouse Style Shiplap Tissue Box
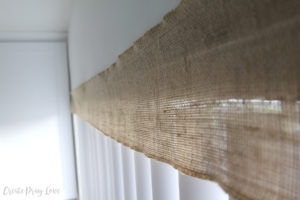
The Easiest DIY Burlap Window Treatment
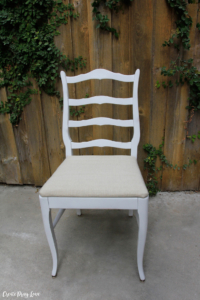
How to Reupholster a Dining Table Chair

Connect with me on social media!
facebook - twitter - pinterest - instagram

Marie, Paint It White Interiors
February 7, 2017 at 4:18 pmAwh ..I love it. I hate having lists and notes everywhere and then loosing them so I love the brown paper roll idea. Very cute idea:-)
Create Pray Love
February 16, 2017 at 9:10 amThank you, Marie! I like it, too
Roxanne
April 3, 2017 at 5:44 pmI love this whole command center, but those burlap bags are the best! Perfect for all those little papers that seem to end up all over the place!
Create Pray Love
April 5, 2017 at 12:54 pmThank you, Roxanne! The burlap bags are my favorite part too!
morgan
April 4, 2017 at 6:45 amthis is such a smart idea! Love it!
Create Pray Love
April 5, 2017 at 12:55 pmThank you, Morgan!
Meredith at The Palette Muse
April 6, 2017 at 10:39 amI love all the little touches you’ve added. Now I’m inspired to do this in my kitchen!
Create Pray Love
April 11, 2017 at 9:42 amThank you, Meredith!! If you do, I’d love to see how it turns out!
Sarah
April 11, 2017 at 6:48 amSo pretty and useful! What a great DIY for a busy family.
Create Pray Love
April 11, 2017 at 9:57 amThank you so much, Sarah!
Michelle James
April 12, 2017 at 10:56 amThis is such a great project!!
Create Pray Love
April 12, 2017 at 1:45 pmThank you, Michelle!
Do You Want To Create An Amazing Command Center
May 16, 2017 at 5:00 pm[…] for something practical and yet ultra-modern this industrial farmhouse style is […]
How to Make a DIY Earring Organizer in 3 Simple Steps
December 27, 2017 at 2:36 pm[…] DIY Industrial Farmhouse Command Center […]