This DIY dollar store bird’s nest was so fun to make! And please note that **I was compensated for this post. This post also contains affiliate links and I will be compensated if you make a purchase after clicking on my links.
Hi friends! I’m back! I took a little bit more time off than I meant to after finishing up the Craft Room Challenge last month. But the husband & I have been spending a lot of time with family over the past few weeks, & I’ve also been catching up on my reading wishlist, which is fun! All that to say, I’m glad I took a break, but I’m also even more excited to be back on here with a fun Easter project for you guys!
I’ve honestly been in a decorating slump ever since we took down our Christmas decorations. So doing this project it was the perfect excuse to drag out my spring decor from our storage room & start embracing this new season!
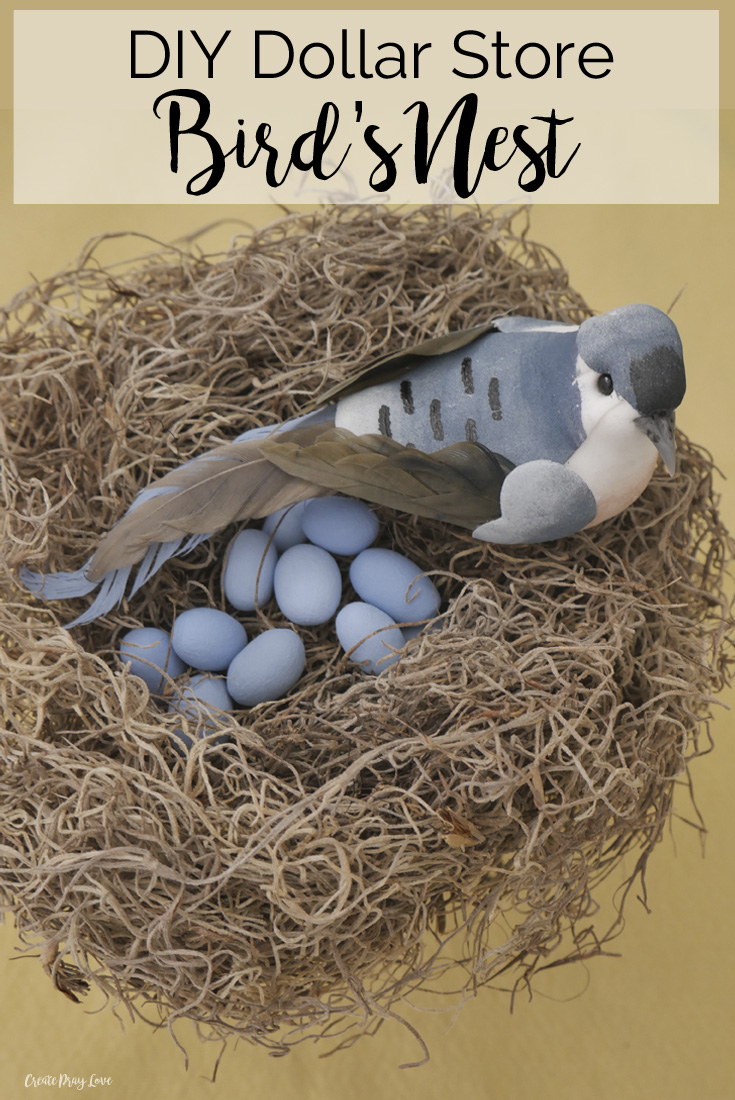
The project I’ll be sharing with you today is a bird’s nest made mostly with supplies from the Dollar Tree*. Here’s how the finished product looks!
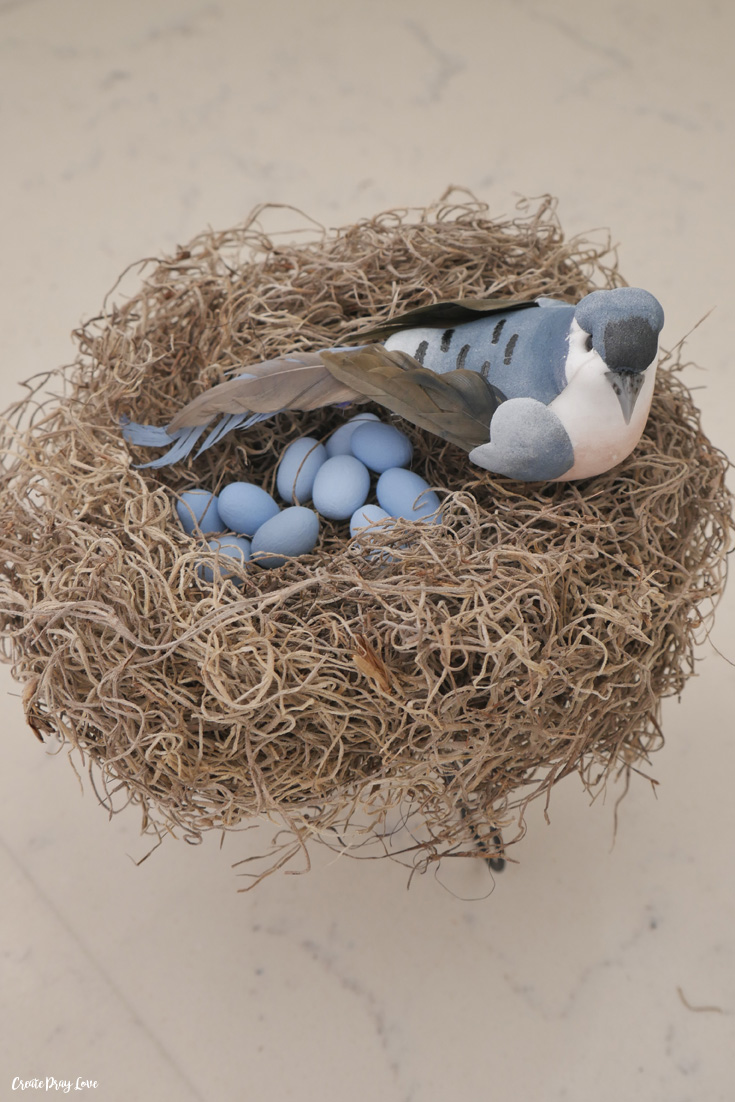
Isn’t it super cute?! I loooove how it turned out. If you want to make something like this for yourself, I’ll be including my materials list here for you as well as the step-by-step instructions.
And as always, if you have any questions about the tutorial, please let me know!
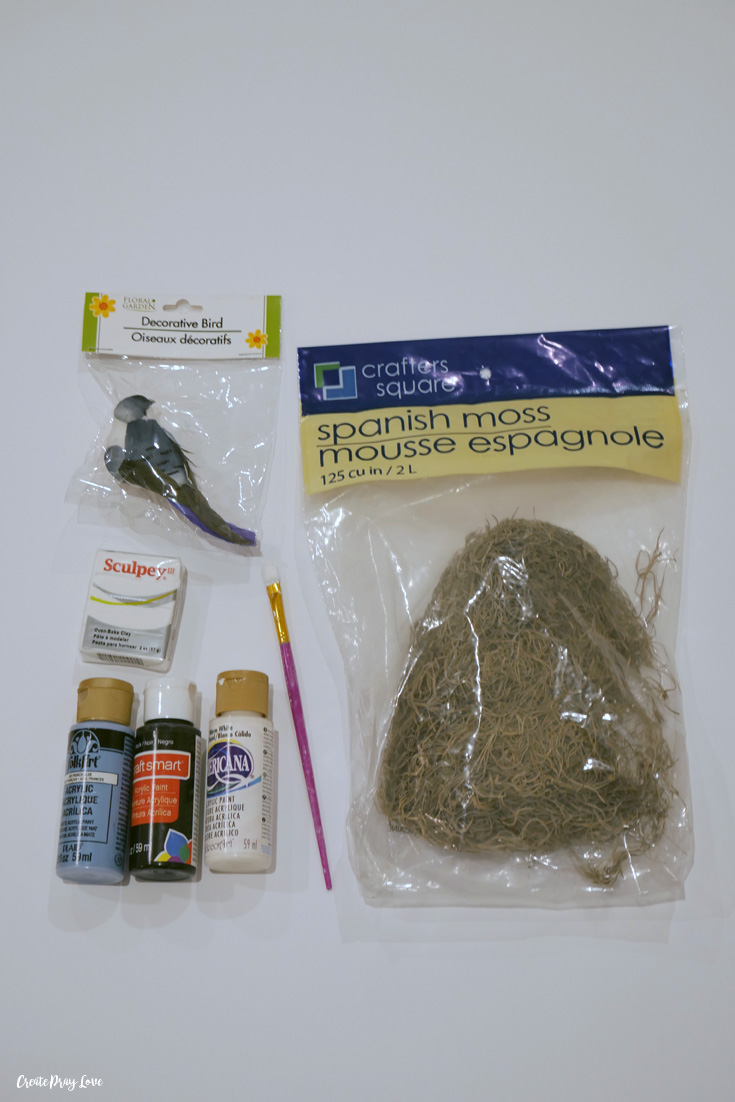
MATERIALS LIST:
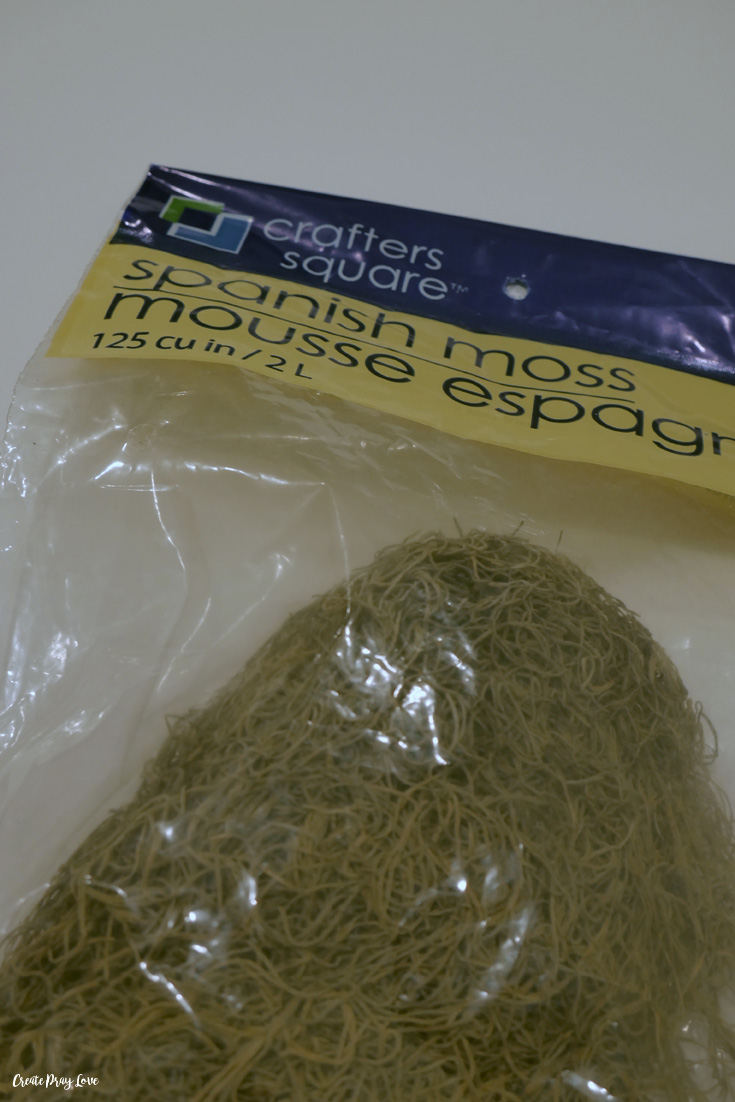
- Spanish moss (similar to this one*)
- Decorative bird*
- Crafting clay to make the eggs* (I used Sculpey*)
- Acrylic paint*
- A paintbrush*
- Candle stand* (optional)
I also want to point out that there are a few different kinds of moss available at the Dollar Tree. I opted for this Spanish moss to give my nest a natural look. But I know that any of the other ones would look great in this project as well!
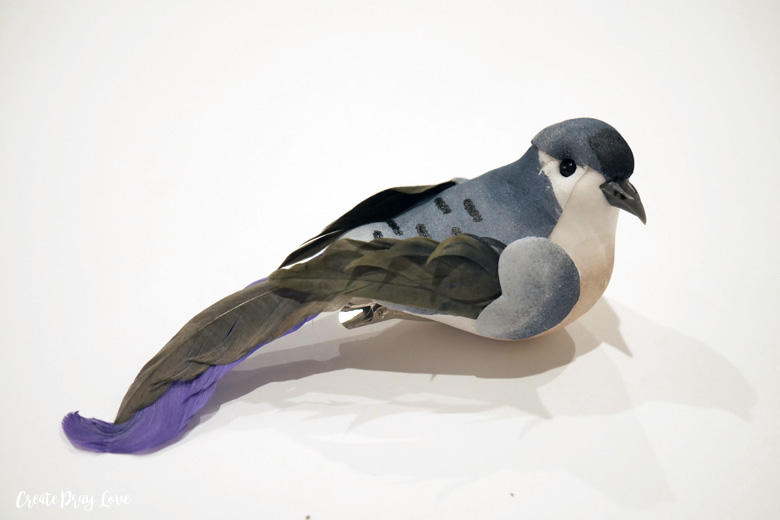
And here is a snapshot of how the decorative bird from the Dollar Tree looks once it’s out of its package. They had sooo many different ones to choose from, but I ended up loving this brown and blue bird the most!
HOW TO MAKE A DIY DOLLAR STORE BIRD’S NEST
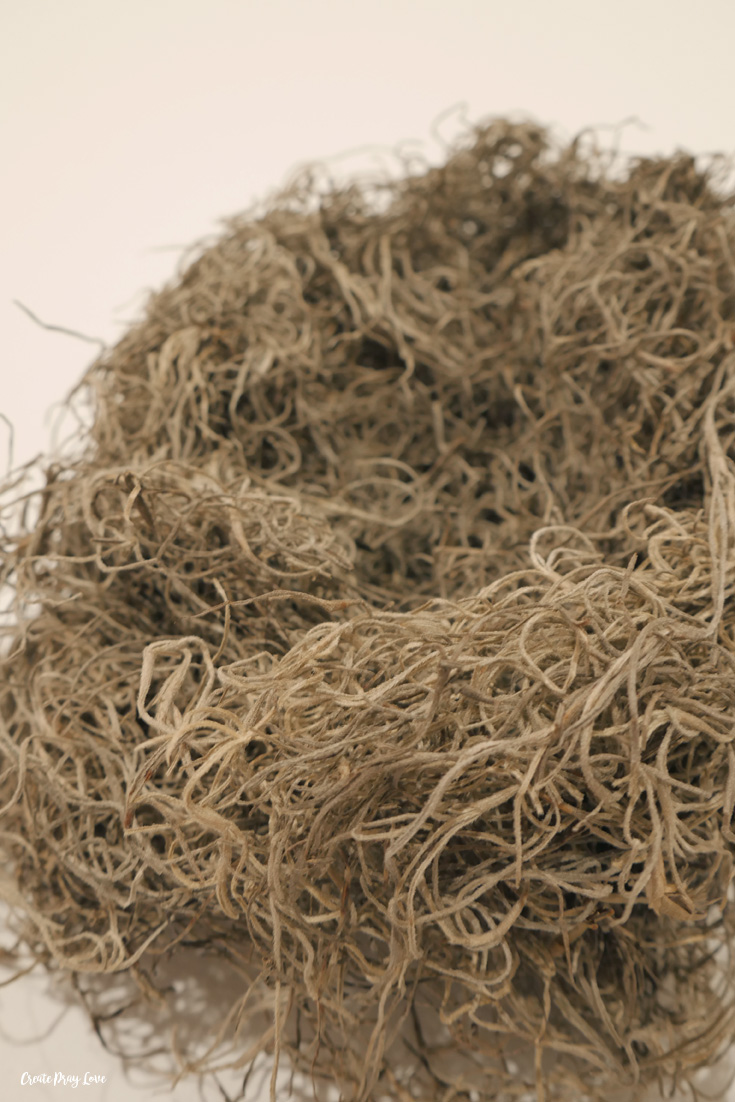
Step 1: Create a nest using the Spanish moss
This part is pretty easy! All you have to do is pull the moss apart so that there is a hole in the middle. You may have to pull some moss off the sides and bottom as well depending on how much you have and how big the nest needs to be.
I made mine in just a few minutes, and fair warning it does get very messy! But I also adjusted the size later once I’d made the eggs and decided the nest needed to be a little bit smaller.
Step 2: Make the bird eggs
This is where you will use the crafting clay to make eggs. This was actually my first time working with it, and I loooooved how everything turned out!
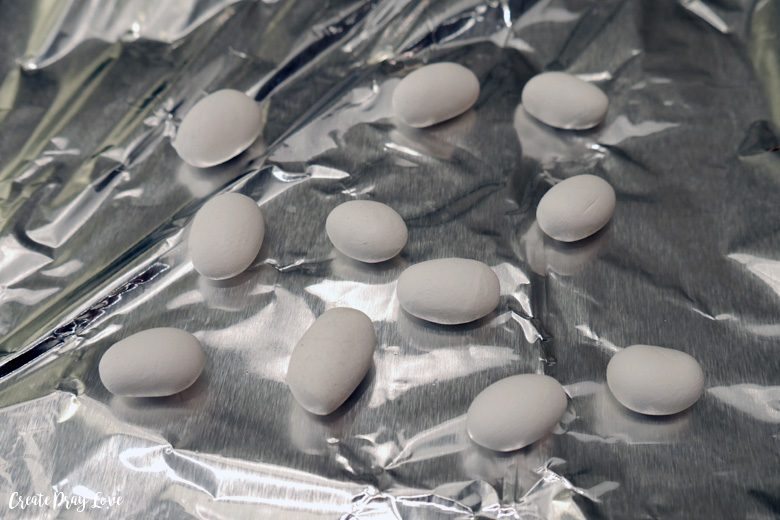
The packaging of whatever clay you buy will give you all the instructions you need. For Sculpey, I ended up using 1/4th of the package (as you can see below) to create 11 different eggs. And I baked them for 15 minutes as the directions said to bake for 15 minutes per 1/4 inch.
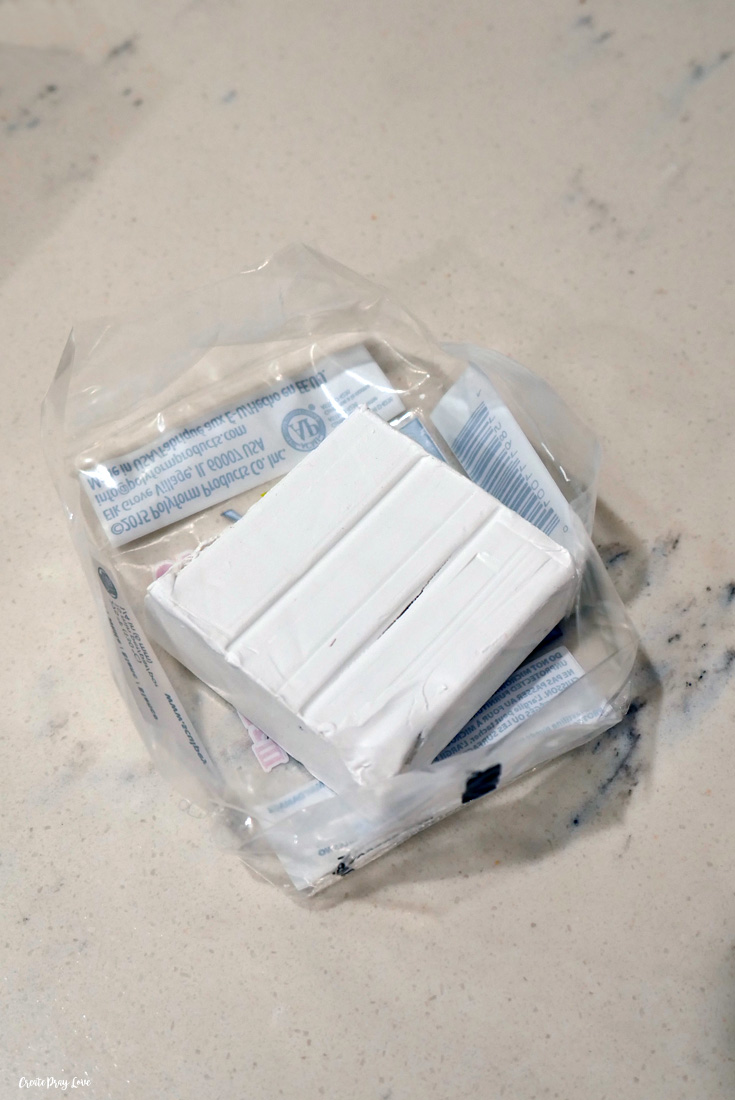
This is how the eggs looked before I popped them into the oven! And as I already stated, baking them for 15 minutes was the perfect amount of time.
Step 3: Paint the eggs
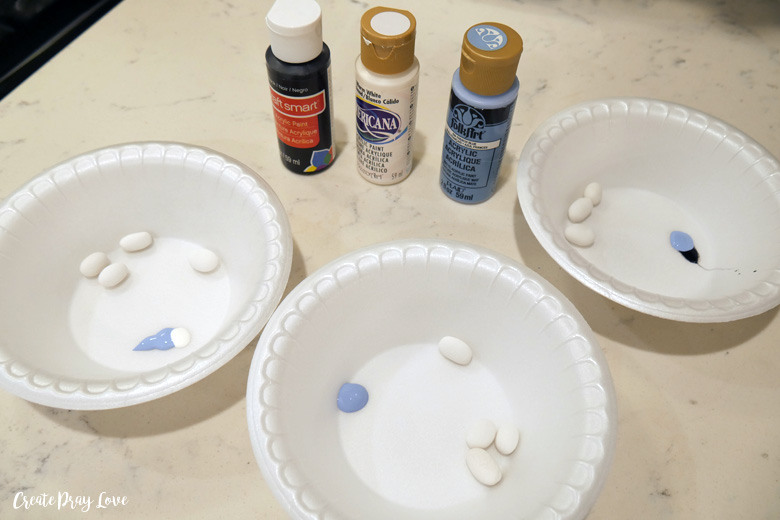
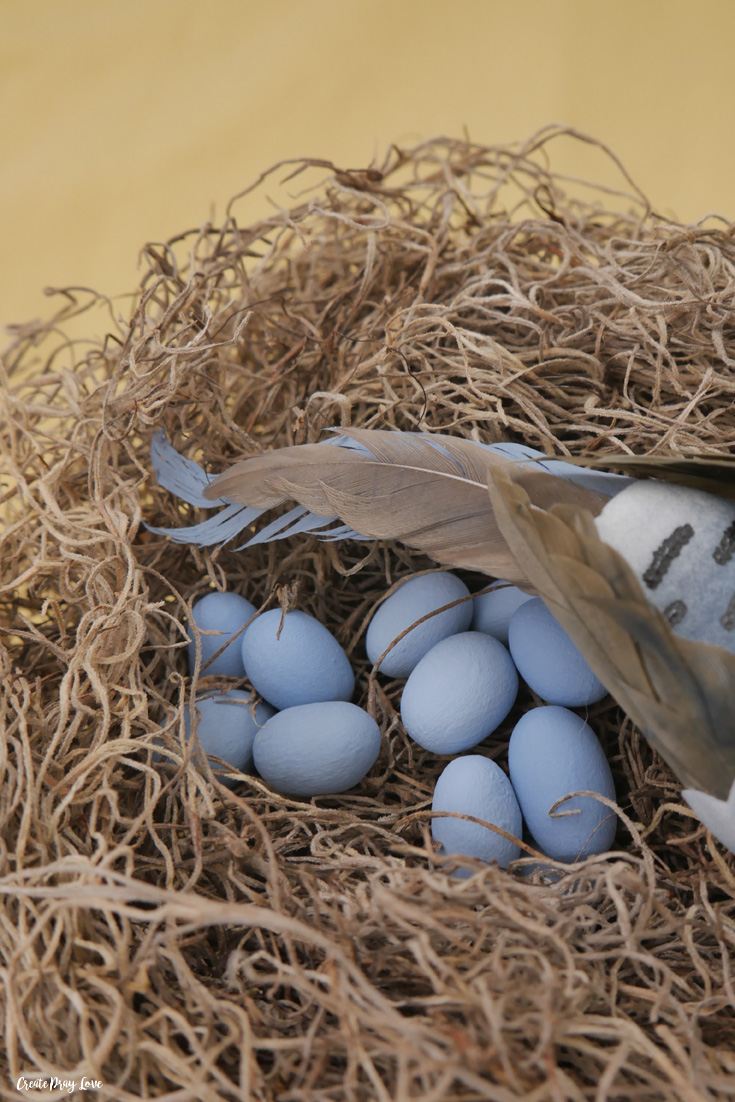
Acrylic craft paint works just fine for painting the eggs. I went with a nice shade of blue that complimented the colors of the bird. However, I didn’t want all the eggs to be the same shade of blue, so I used white paint to create a lighter blue and black paint to create a darker blue for some of the eggs.
Thus, I ended up with four eggs that were in the middle, four that were lighter blue, and three that were darker blue.
Step 4: Put the nest together
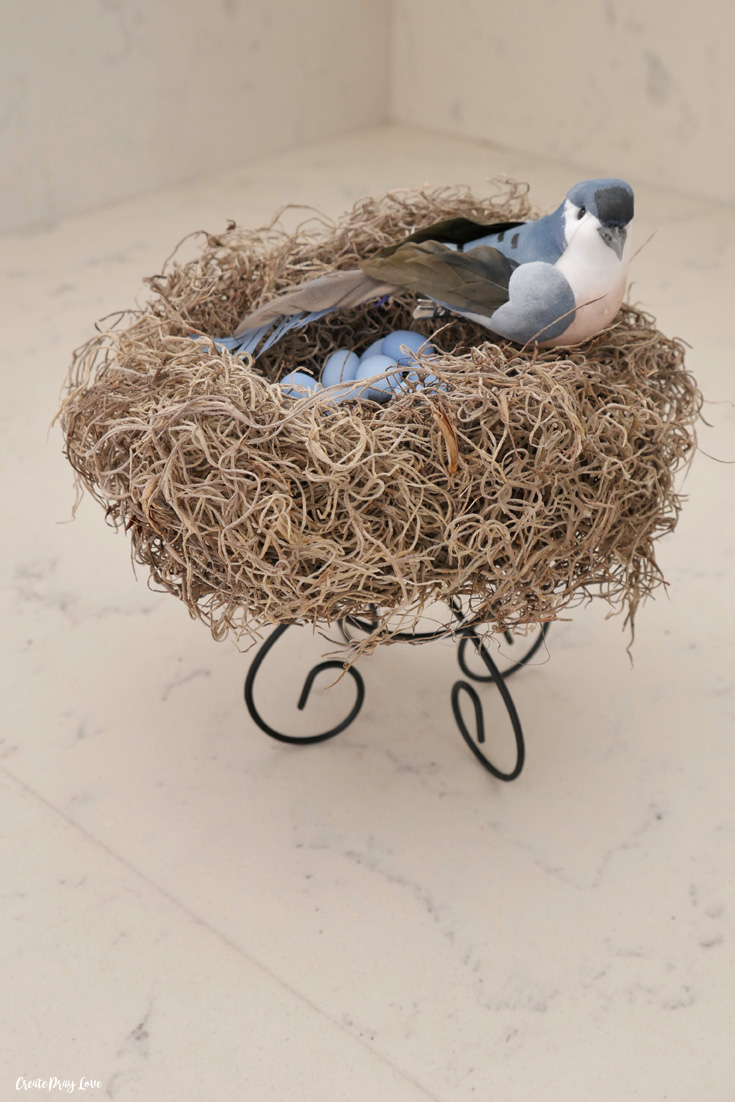
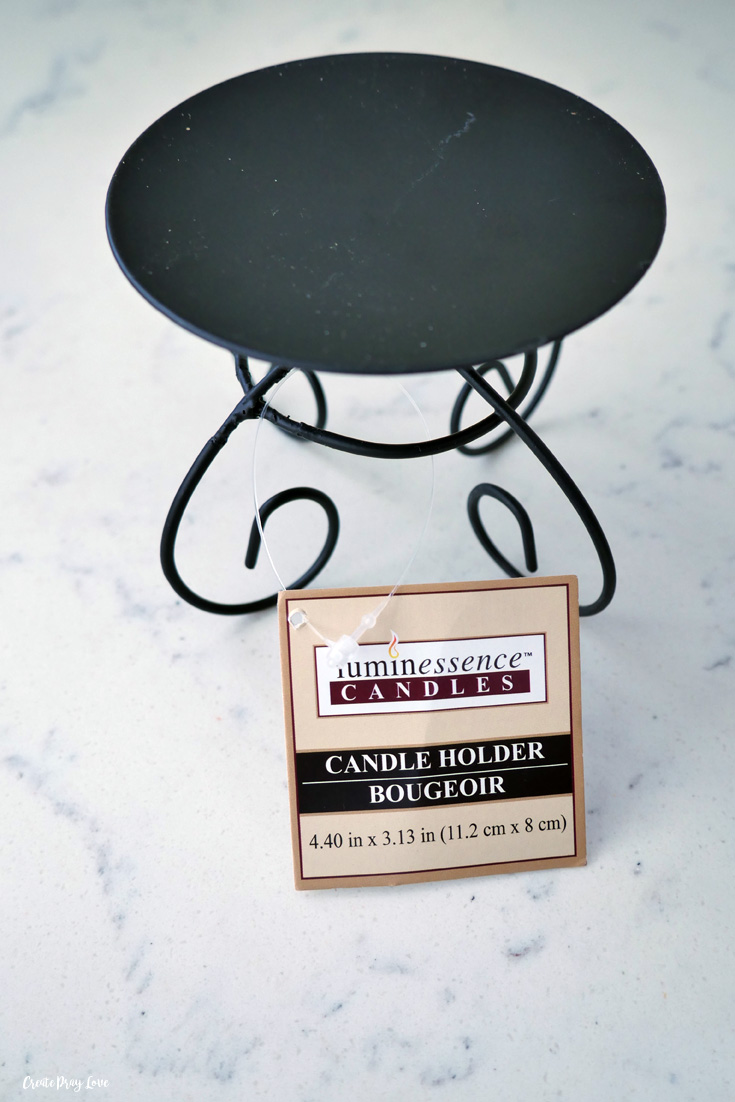
Once I put my nest together, which you’ll see in the next picture, I used this candle stand from the Dollar Tree to lift my nest off the counter a little bit and give it a little bit more character.
And here’s how everything looks together!
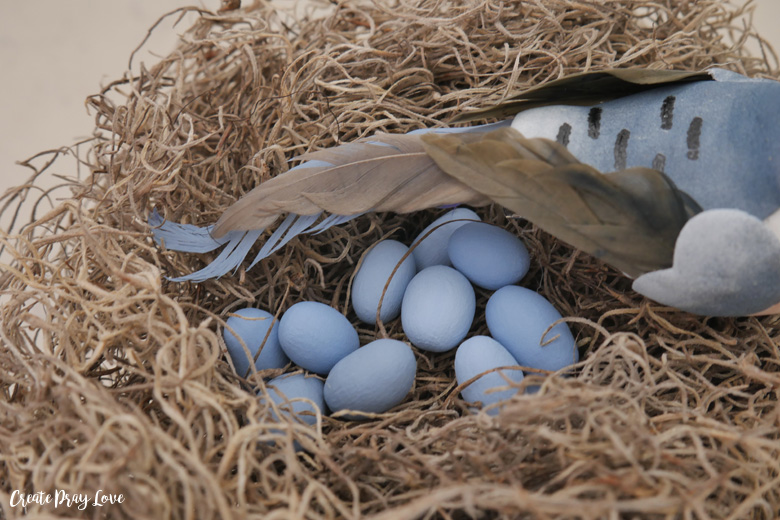
One additional thing I ended up doing was painting the purple feather that was on the bird’s tail a blue that matched the eggs. I loved the purple, but I also wanted everything to look coherent!
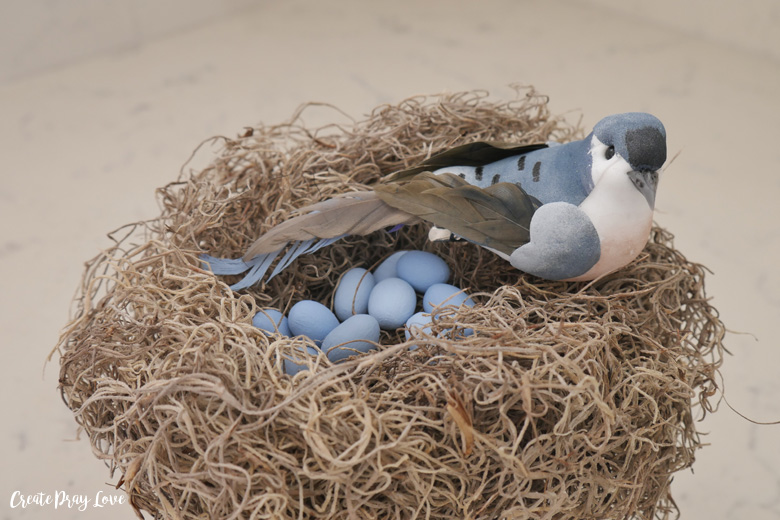
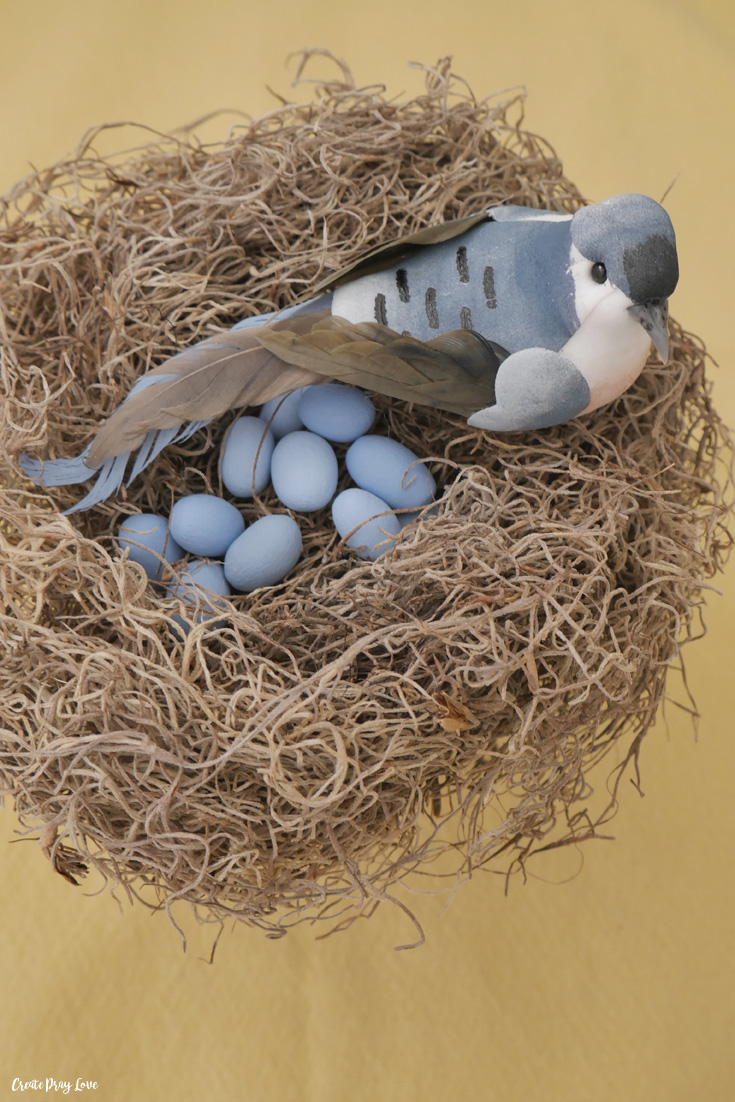
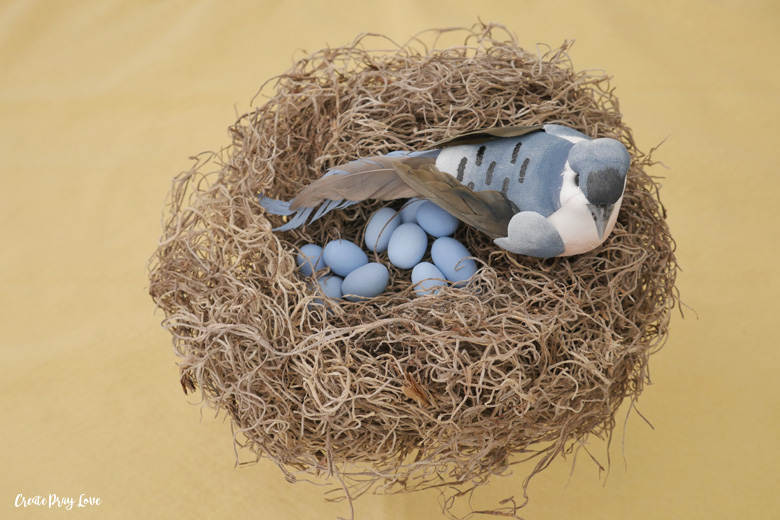
Overall, I love how this nest looks in my home! For now I have it in the kitchen, although I may move it to our living room soon. And I also like how it could be used for either Easter decor or spring decor! I will honestly probably keep it out until summer.

Check out these crafty dollar store spring projects my friends came up with!
 Loading InLinkz ...
MORE SPRING DECOR PROJECTS YOU MAY ENJOY:
Easy Repurposed DIY Wall Succulent Planter
Simple Rustic Farmhouse Spring Centerpiece
DIY Repurposed Teapot Herb Planter
Want even more inspiration?
Check out these websites, which are an amazing resource for crafts and DIY project ideas!

Connect with me on social media!
facebook - twitter - pinterest - instagram



Habiba
March 10, 2018 at 3:43 amI am not a huge fan of birds, but I do love this creative decor project, Jolene! Especially that you’ve made the eggs yourself. I do have material for that at home for a long time, originally I planned to make Christmas ornaments with it, lol.
Create Pray Love
March 18, 2018 at 10:31 pmThank you, Habiba! I usually do not do bird crafts either, but for this one I couldn’t help myself! Also, can’t wait to see what you do with the clay yourself! 😉
Diane
March 20, 2018 at 6:59 pmFor a while there I really thought it is a real bird. Good work!