Affiliate links have been used in this post about how to make a DIY burlap window treatment. This means I can earn fees by linking to products on websites I am associated with via affiliate advertising programs. Please note that all affiliate links have been marked with an asterisk* such as this. If you have any further questions about this, you can click here to read my policies page.
Good morning, friends! Today I’m sharing another project with you that I did months ago, but I just haven’t had the time yet to sit down & write about it until now. I also want to try making this post a little more conversational instead of just giving you some instructions & peacing out. I want to connect with you guys & show you exactly what my behind-the-scenes decorating process looks like. But maybe you want to skip the chit-chat & get down to business? If so, I totally get it. I’m an introvert, & I’m so not good at small talk. But I do think this is worth trying out, so feel free to leave me a comment below & let me know if you liked it or not!
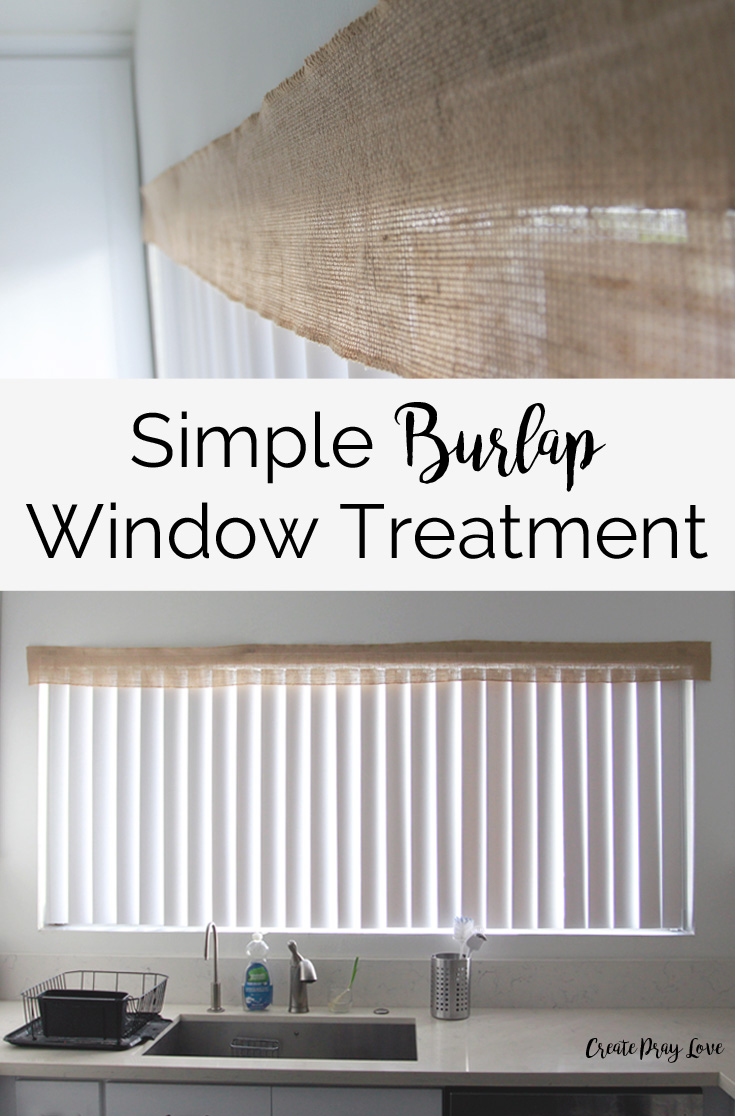
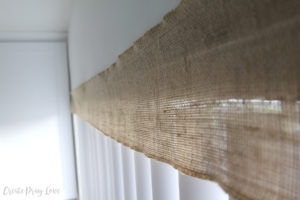
Alright, back on topic now! I’ve figured out the easiest DIY window treatment ever. Epic statement, I know. But it’s true! This DIY project is super affordable & will only take up about 15 minutes of your day from start to finish. You can see from the post title & below picture that it’s made out of burlap. I just love the rustic touch that this gives my home! But before I jump into how to make this, I want to walk you through the dilemma that we encountered when we first moved into our home, & how this project was the perfect solution for us.
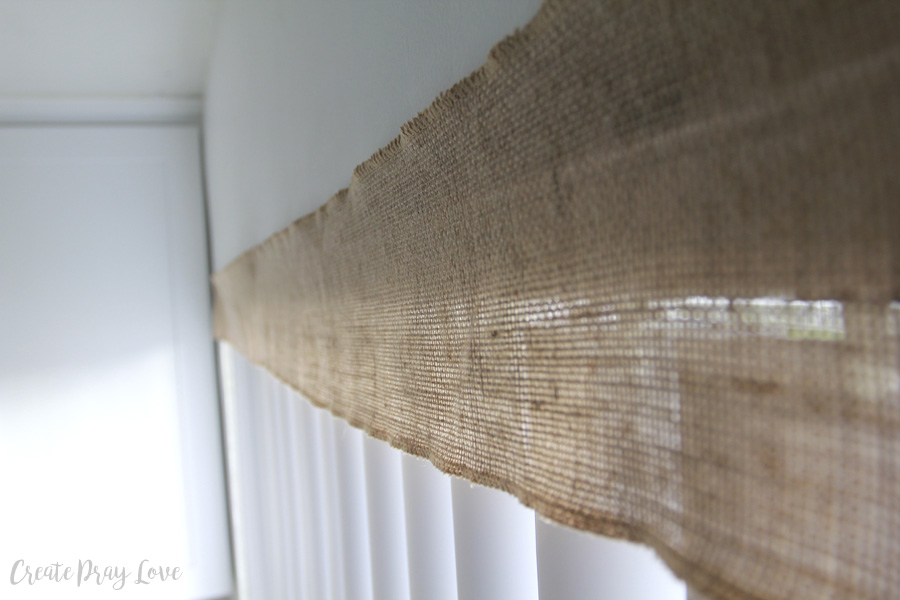
One of the first things I noticed when we got our condo last year was that none of our windows came with built-in blinds. I am a very private person, & living in Los Angeles it’s not like we don’t have neighbors for miles around. Don’t get me wrong, I love our neighborhood, but I do prefer to have blinds and/or curtains covering all of our windows just so I don’t have to worry about creepers. (I watch too many crime shows, which has probably made me a little bit more paranoid about this kinda stuff).
So my top priority upon moving in was definitely to figure out window treatments. We knew we wanted curtains for our bedroom and living room windows, because those could just go all the way down to the floor & it would be great. But our kitchen window had us stumped.
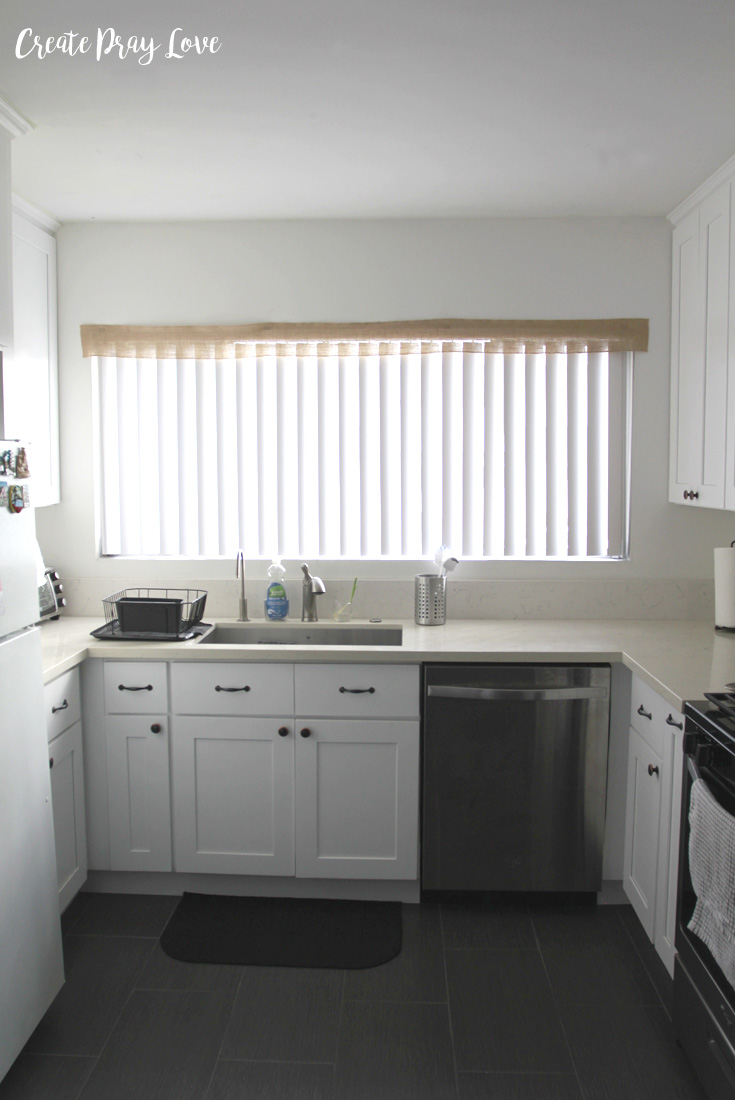
It is over 8 feet wide, & a very awkward size, which meant that horizontal blinds & plantation shutters were not viable options for us. Sooo many of them just didn’t have the dimensions we needed, & we did not have the money to pay for something super customized. I did suggest putting in small curtains, but a curtain rod on the outside would have blocked our side cabinet doors from opening all the way. And even though I would have been fine with that, the husband was definitely opposed.
So, we went with vertical blinds. This is the route we ended up going with because it fit our budget. They were even cut for free to match our dimensions! But I still felt like something was missing, specifically on the outer part of our window because it didn’t have any trim. (Although I do plan on installing some eventually, once we replace the windows)
The blind kit we purchased came with a valance, but we didn’t like the look of it. And that’s when I got the idea to possibly decoupage the valance with something more attractive, like burlap or a patterned material. I remember standing in our kitchen late one Saturday night, swamped with projects, & trying to figure out how long it would take me to decoupage & install the valance.
Then I looked at the burlap roll again, & suddenly realized that maybe, just maybe I could tape up the burlap by itself & it would work… & I am so happy to report that it did!!! I can’t tell you how much stress went into figuring out how we could beautify this window before I invented the burlap window treatment solution. Why didn’t I think of this sooner? Seriously…
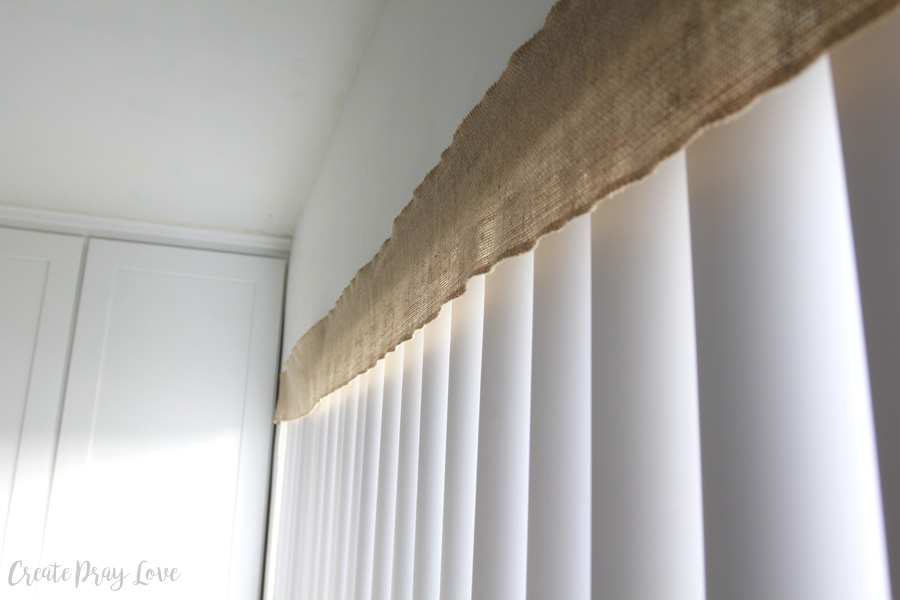
THE SOLUTION: A BURLAP WINDOW TREATMENT
If you want to re-create this easy project in your home, just follow these super simple instructions & you will be on your way!
Supplies List:
How to Make a DIY Burlap Window Treatment:
- Unroll your burlap, & cut it off so it is a little bit wider than your window.
- Use your tape to mount it to the wall
See? It’s SO SO SO easy!
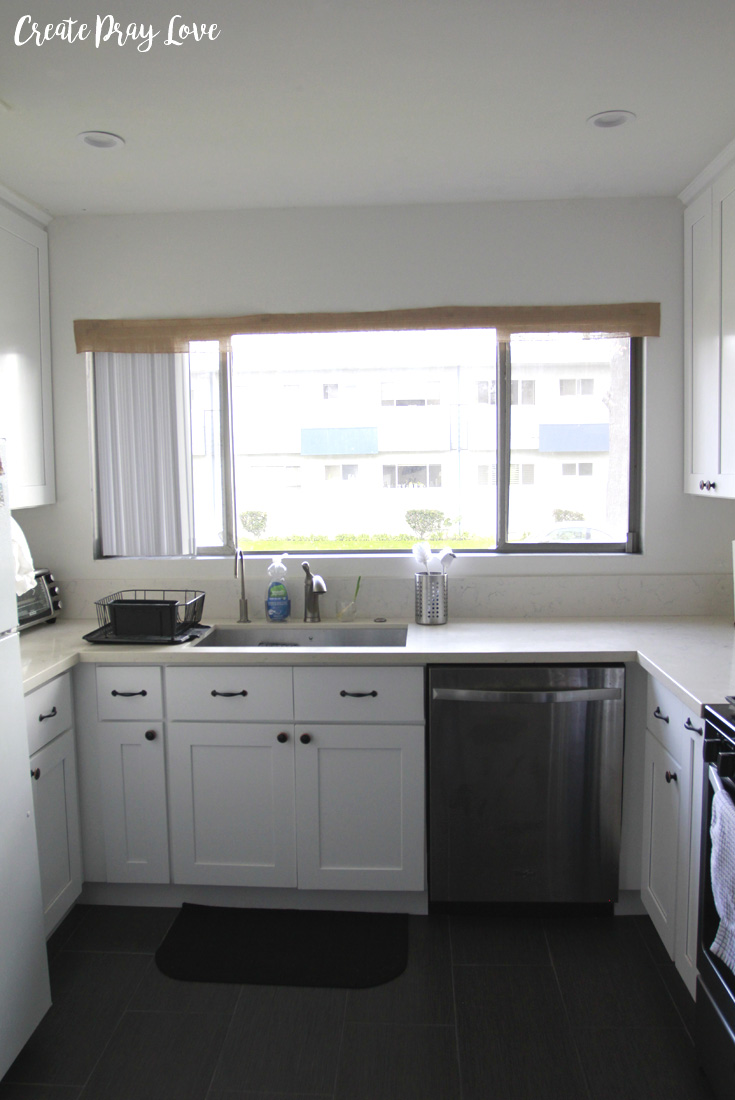
Like I said, I can’t believe it took me so long to just unroll some burlap & stick it on the wall. Also, I can’t even begin to tell you how much it has improved the aesthetics of our kitchen. Maybe we’ll eventually figure something else out for this window, but for now it’s perfect.
I am also now brainstorming options for a farmhouse style sign that I can make & hang in the empty wall space above the window! There’s always something else cookin’ up in my brain, I tell ya… The list of projects for my home seems never-ending!
WHAT’S YOUR FAVORITE THING TO DO WITH BURLAP?
More DIY farmhouse style projects you may enjoy:
How to Make a DIY Farmhouse Chalkboard Frame
White Farmhouse Kitchen Table Makeover
DIY Farmhouse Style Shiplap Tissue Box
The Easiest DIY Burlap Window Treatment
How to Reupholster a Dining Table Chair

Connect with me on social media!
facebook - twitter - pinterest - instagram

Valerie
April 25, 2017 at 9:56 amLove it, what a simple way to dress up a window!
Create Pray Love
April 28, 2017 at 11:56 amThank you so much, Valerie! 🙂 I love it, too!
Amanda
April 26, 2017 at 9:18 amWhat a cute and simple idea!
Create Pray Love
April 28, 2017 at 11:57 amThank you, Amanda! That is so sweet 🙂
BonBon
April 26, 2017 at 9:25 amVery cute and simple. Great idea.
Create Pray Love
April 28, 2017 at 11:59 amThanks so much, BonBon! 🙂
Jessica
April 27, 2017 at 11:03 amGreat idea, so simple yet looks so lovely!
Create Pray Love
April 28, 2017 at 12:01 pmThank you, Jessica! Sometimes simple is best, right? 🙂
Maria
April 29, 2017 at 10:39 amVery creative idea, i have tons of burlap i could do this as well.
Maria
Sarah
May 3, 2017 at 11:10 amCute and simple! I love a quick home decor DIY. 🙂