Affiliate links have been used in this post about how to make a repurposed DIY wall succulent planter. This means I can earn fees by linking to products on websites I am associated with via affiliate advertising programs. Please note that all affiliate links have been marked with an asterisk* such as this. If you have any further questions about this, you can click here to read my policies page.
I’ve been on a re-purposing streak lately. Every time I’m out shopping, I have my eyes peeled for anything interesting that I could use as unique decor in my home.
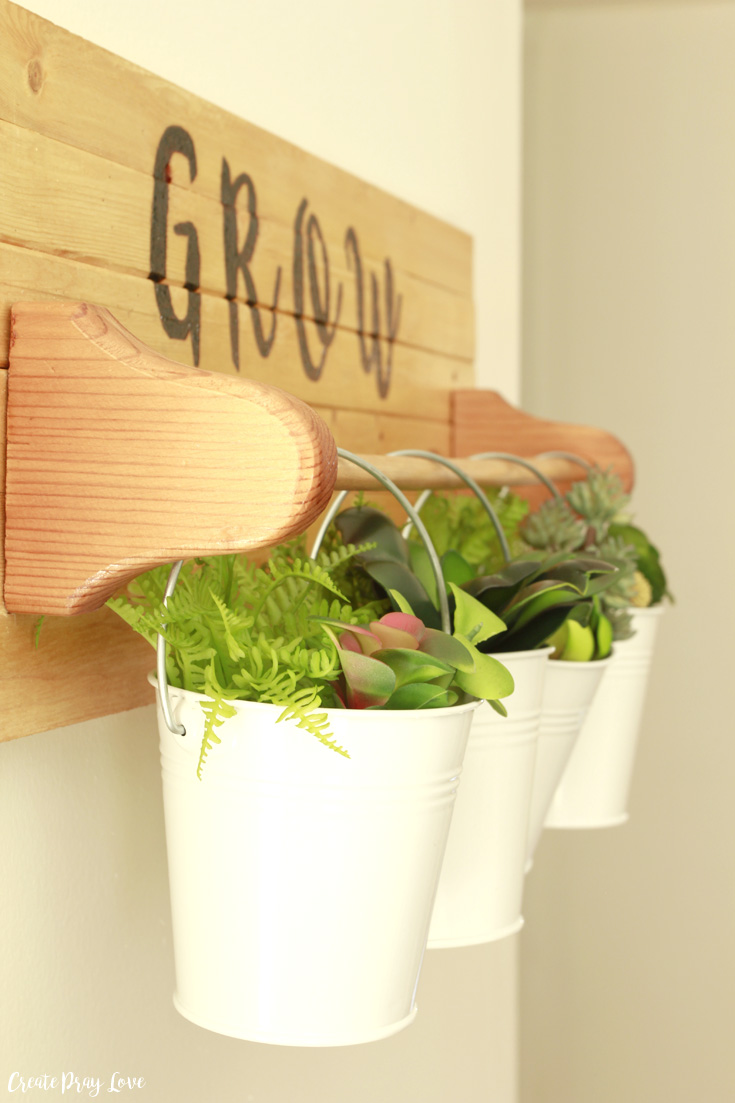
Then the other week, I found this old school paper towel holder on the shelf at a local thrift store. I moved on, not thinking I’d use it for anything. But then I stumbled across a collection of miniature white buckets, & I realized that with a little bit of elbow grease I could turn the paper towel holder into a DIY wall succulent planter for my living room!
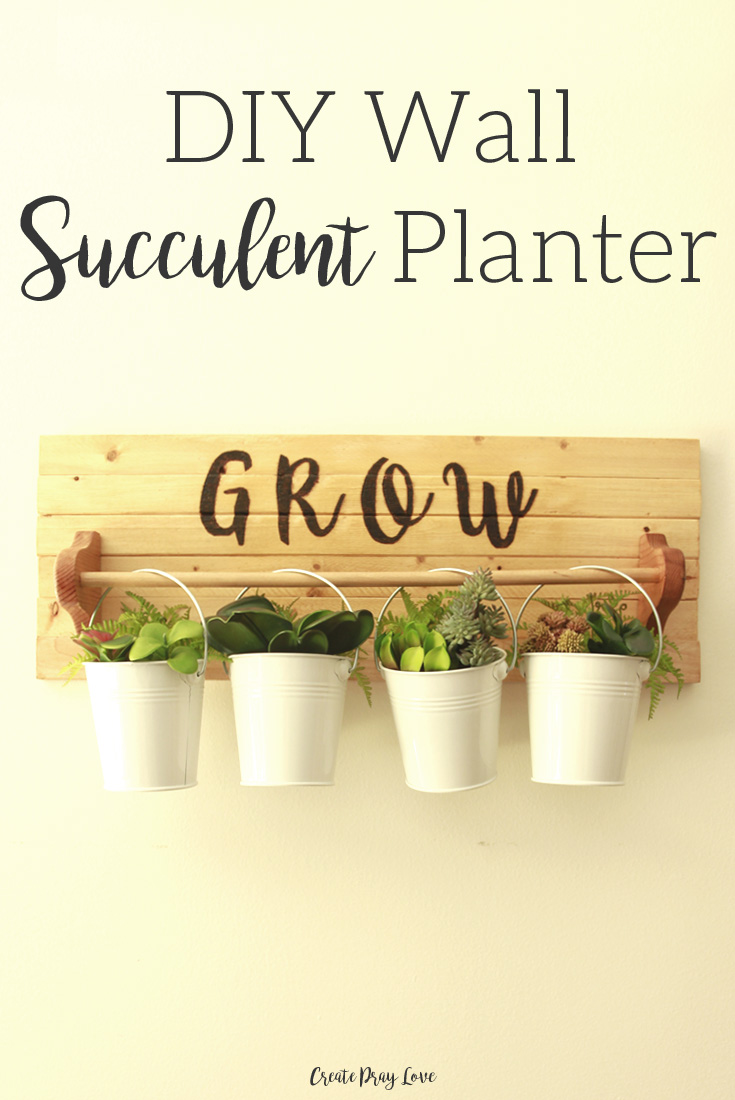
I ended up making a different background for the piece since the original one wasn’t what I wanted. And I’m so happy with how it turned out!
Want to make something like this for yourself? I’ve listed out all the materials & steps you’ll need to follow below! Here is the before picture:
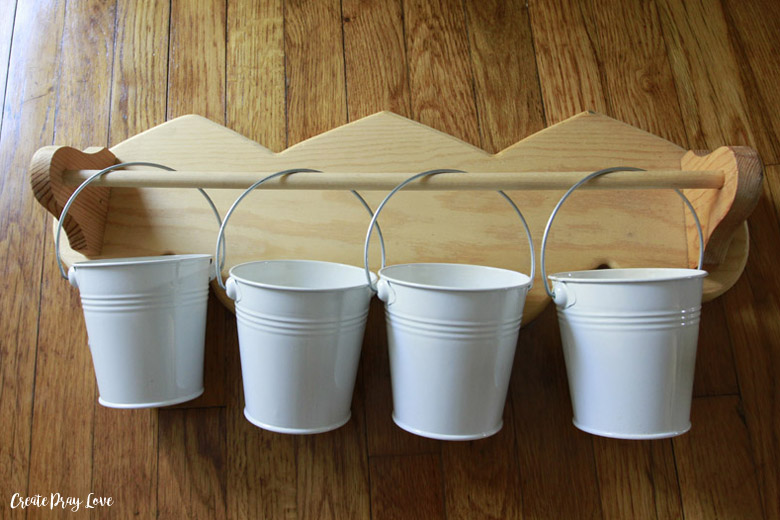
MATERIALS YOU’LL NEED:
- Mini white buckets*
- Woodburning kit with tips*
- Faux succulents*
- Pieces of wood
- Light wood stain
- Paint brush or rag
- Gorilla glue*
- Wood clamp*
- Sandpaper
- Graphite paper*
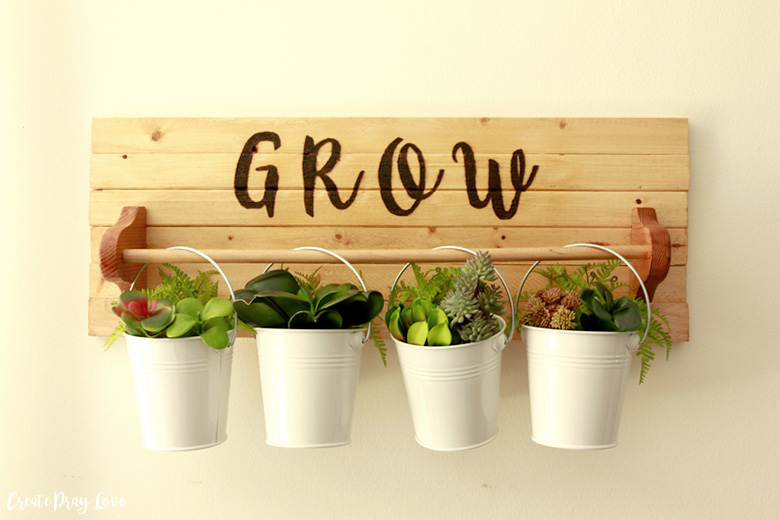
How to Make a DIY Wall Succulent Planter
Step 1: Cut the wood needed for a new backing
I used the bar from my paper towel holder as my guide to figure out what size the backing needed to be. You can probably find a wooden paper towel holder similar to this at any thrift store, which is going to be way easier than creating the bar from scratch. But if you can’t find one, I’m sure there is a way you can DIY it!
The wood I used for this step was actually the same wood I used in my DIY Industrial Farmhouse Command Center. It’s an 8 ft long piece that only costs a dollar! So I cut each piece to be just a bit wider than the bar, and I stacked six identical pieces together to give it a little bit of height.
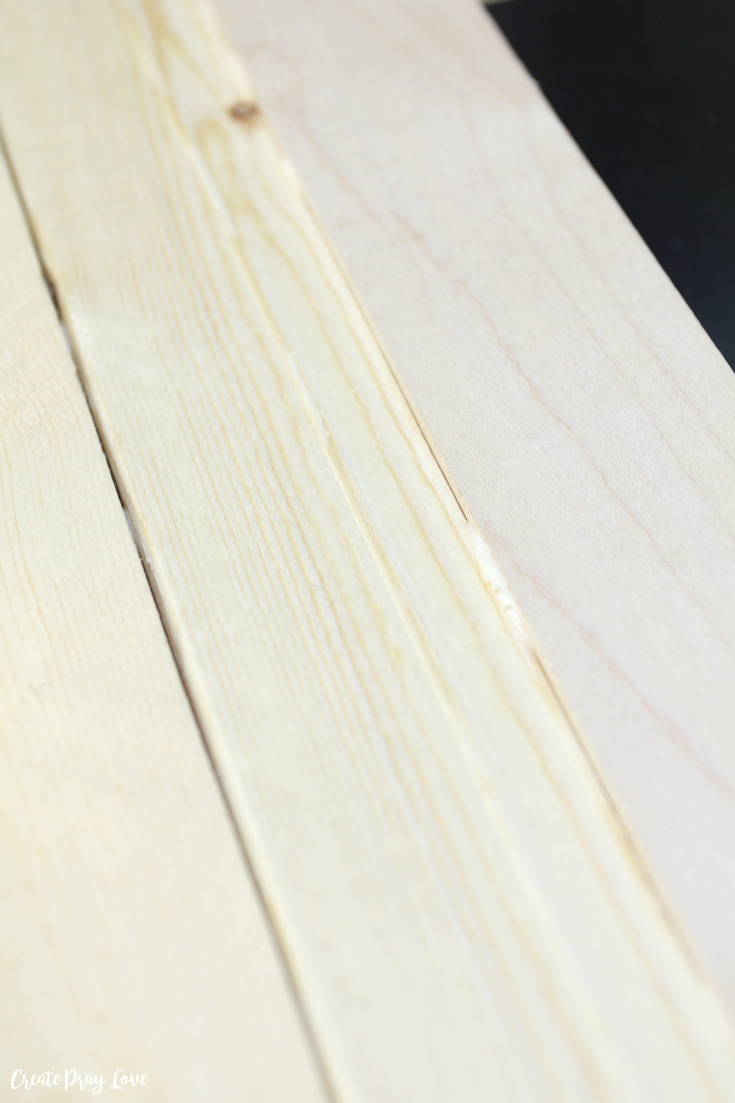
2. Glue the wood pieces together
After gluing them together with Gorilla Glue, I left them clamped together for two hours to make sure everything was dry before moving on.
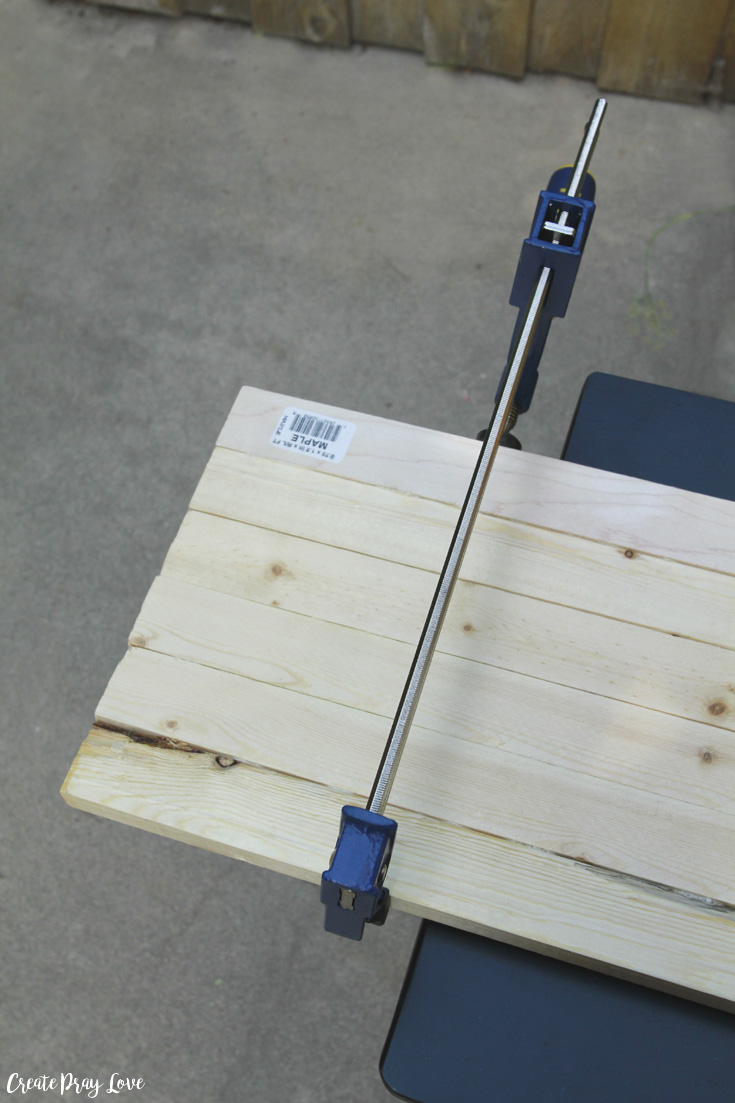
3. Use a woodburning kit to write on the backing
If you’ve never used a woodburning kit before, I actually have a full tutorial on how to do that here.
But the basics are that when you trace the letters on top of the graphite paper, it leaves a perfect outline on the wood for you.
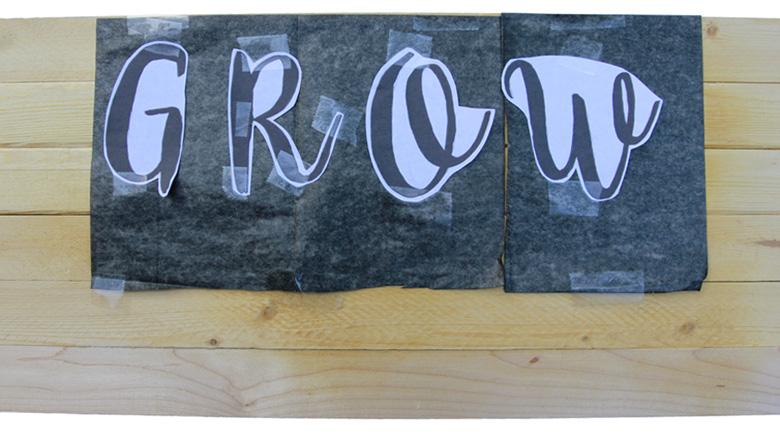
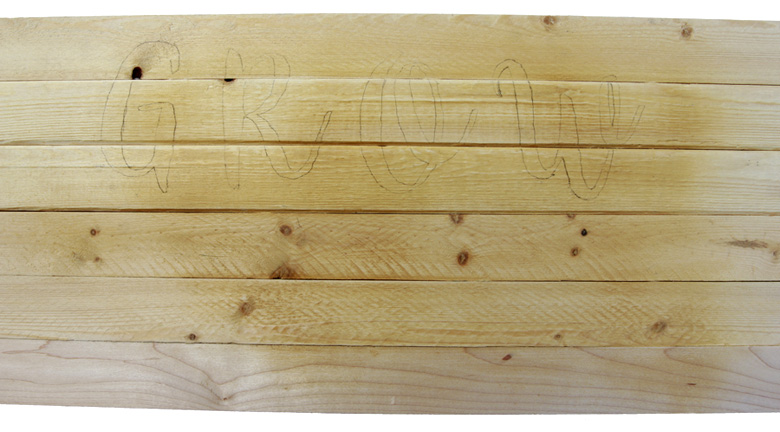
Then you simply trace the outline with a Flow Point woodburning tip, & fill it in with that as well.
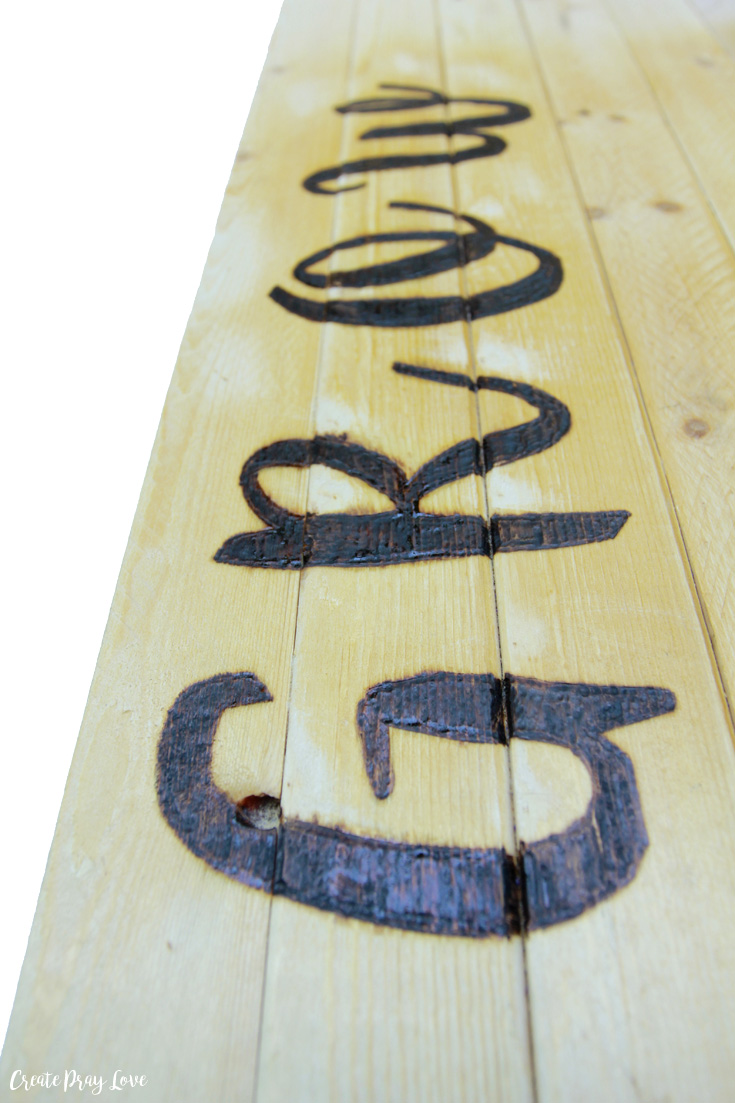
4. Stain the backing
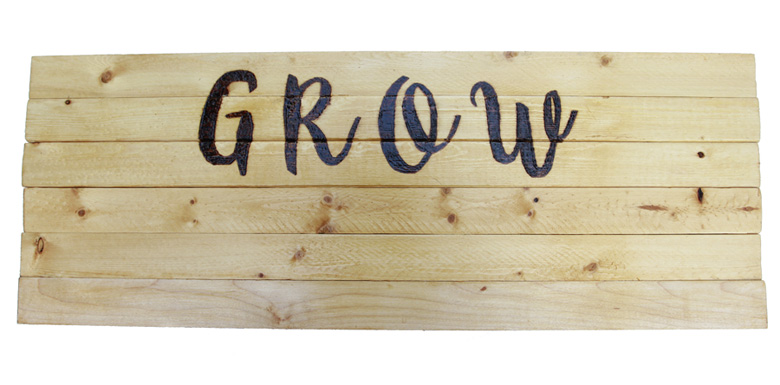
Now comes the staining! I used a very light stain for this project as I wanted there to be contrast between the wood and the dark letters.
I recommend using a rag to wipe on the stain.
5. Screw the bar into the backing to create the wall planter
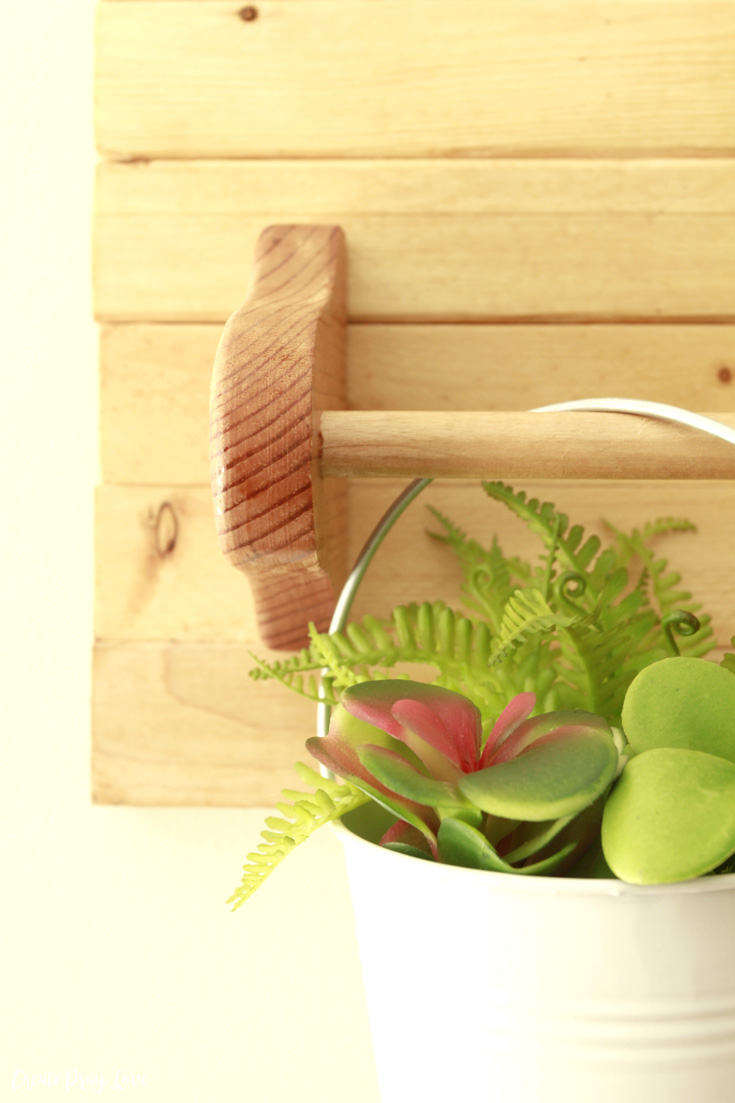
I glued the bar onto the wood backing first, & then screwed it in from the back!
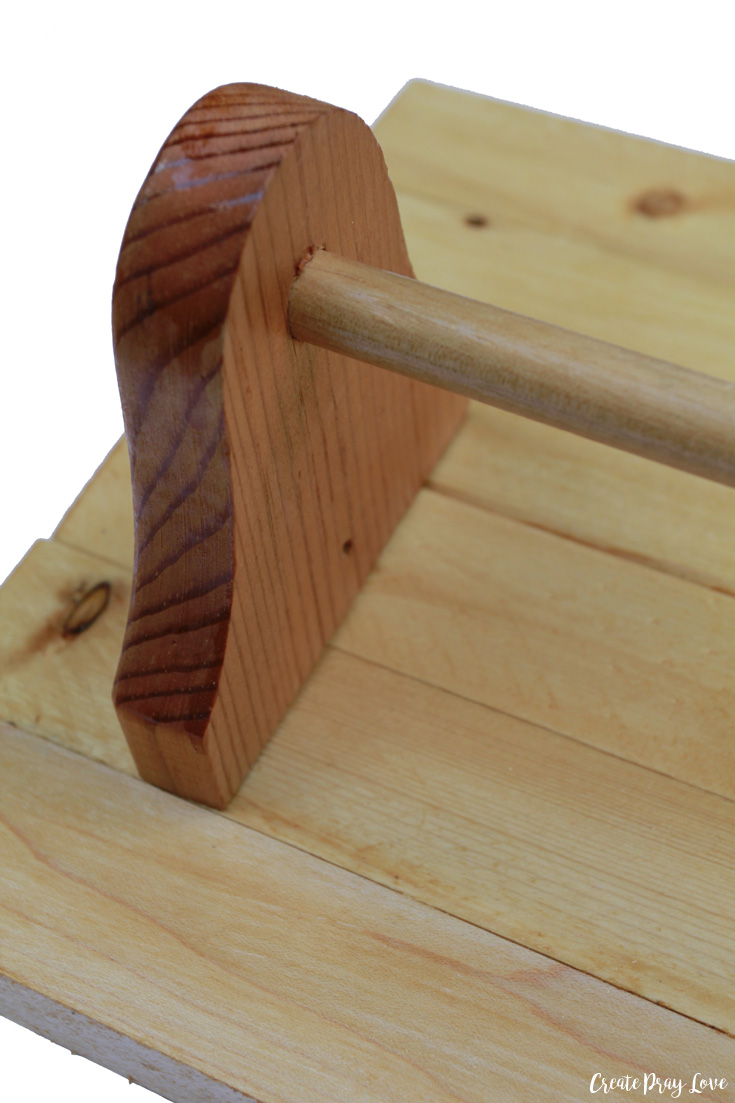
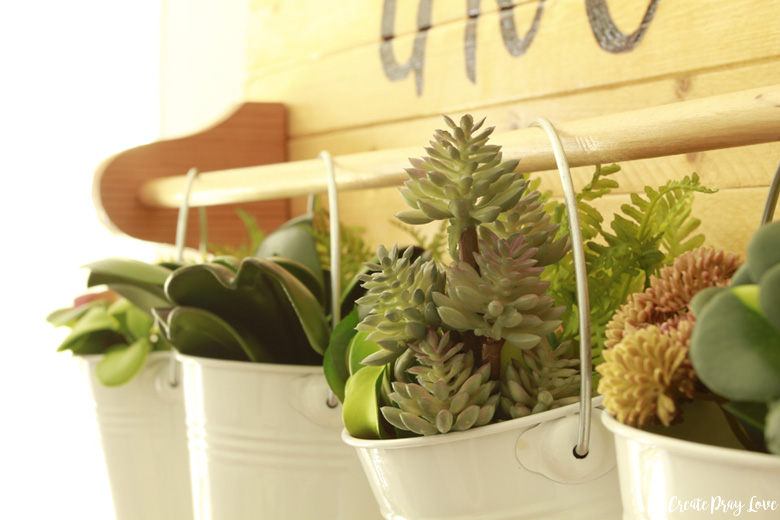
6. Hang the white buckets on the bar & fill with succulents!
I snagged ALL of these faux succulents during a huge sale at the craft store, & I couldn’t believe how good of a deal I got on them. They originally would have cost well over $45 total, but I paid a little over $10 for them all!
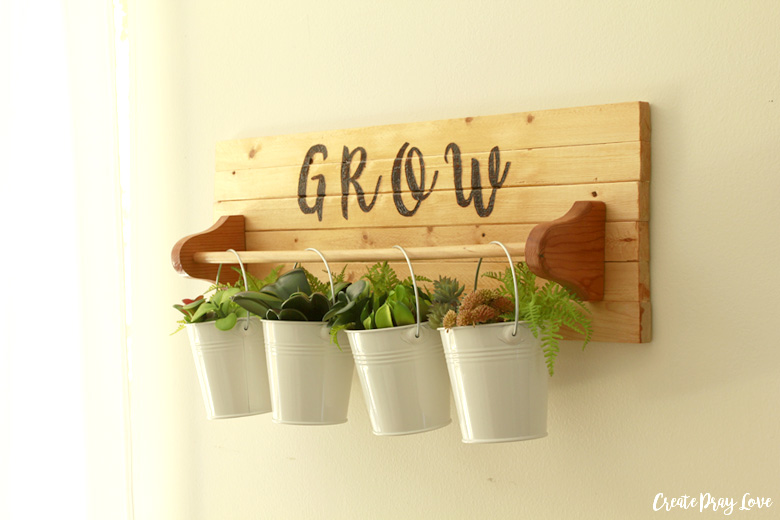
I had fun mixing them up with each other & figuring out what looks best. 🙂
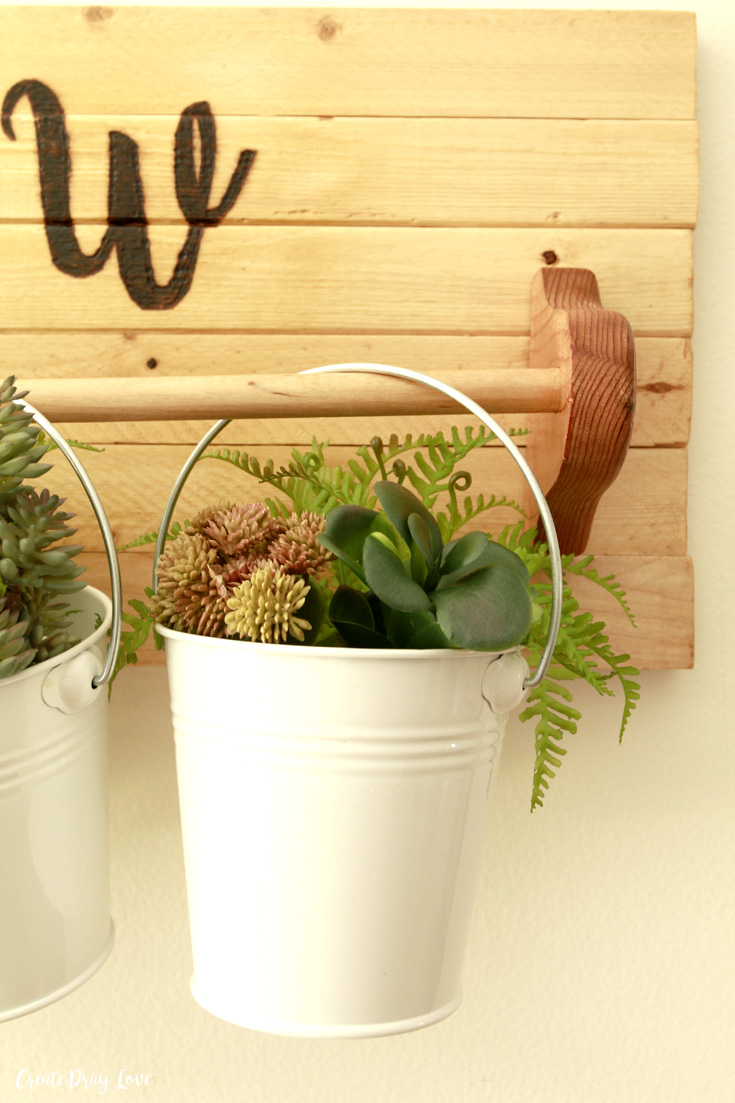
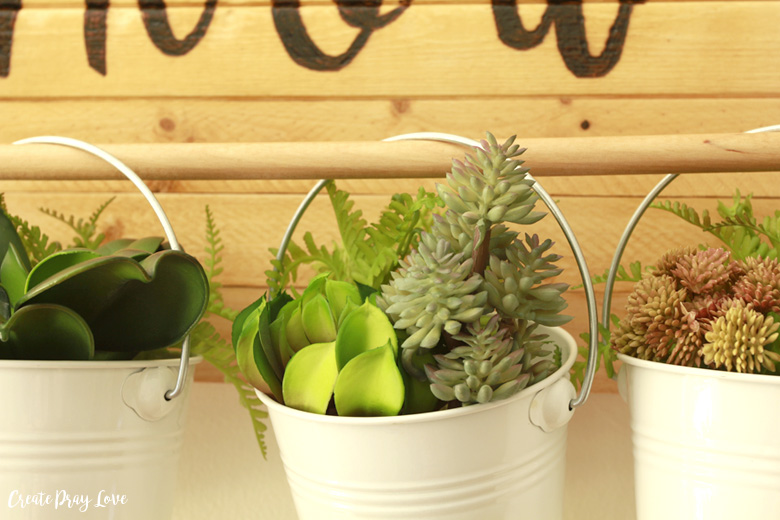
For now, this is hanging on our living room wall & we love the pop of color it brings to the space!
If you want to see my Pinterest board dedicated to pinning repurposing & upcycling projects, you can check that out here!
Do you have any succulents in your home? I’d love to hear your thoughts on this DIY wall succulent planter project in the comments!
MORE POSTS LIKE THIS ONE YOU MAY ENJOY:
Simple Repurposed Teapot Herb Planter
Rustic Farmhouse Spring Centerpiece
Dollar Store Summer Lemon Wreath
How to Turn a Wire Hamper Into a DIY Patio Table
DIY Wooden Ladder Outdoor Shelving Unit

Connect with me on social media!
facebook - twitter - pinterest - instagram


Amanda
August 17, 2017 at 9:36 amThis is SO cute! What a fun idea!
Create Pray Love
August 20, 2017 at 10:29 amThank you so much, Amanda! 🙂
Jessica
August 17, 2017 at 6:20 pmThis looks so great, good job!
Create Pray Love
August 20, 2017 at 10:38 amThank you, Jessica! I’m so happy with how it turned out, that’s for sure 🙂
Habiba
August 17, 2017 at 10:17 pmI love this idea and I must admit I am on the same train…I collect all and everything with the thought in mind “I’ll be making something out of that”. Can you guess how big my crafty stash is by now lol??
Create Pray Love
August 20, 2017 at 10:43 amI am so glad you can relate to this, friend! 😉 My crafty stash is outrageous!
Lidia
August 18, 2017 at 8:13 amOoohh that’s adorable!!!
Create Pray Love
August 20, 2017 at 10:43 amThank you, Lidia! I’m so glad you like it!! 🙂
Ola
August 18, 2017 at 10:31 amWow! I had no idea that was a paper towel holder. Great idea. So creative.
Create Pray Love
August 20, 2017 at 10:44 amAww, thank you Ola! I am so glad it turned out so well, at first I had no idea what the finished product would be!
Jane @SustainMyCraftHabit
August 20, 2017 at 5:01 amTurned out so great. I didn’t even realize that was wood-burned at first. Thought it was vinnyl! Great job.
Create Pray Love
August 20, 2017 at 10:45 amThank you, Jane! I need to get a Cricut soon, but I do like how the woodburned letters look like vinyl! 😉
12 Simple ways to Turn Junk into Gems in your Home - This Lost Mama
September 18, 2017 at 7:50 pm[…] for the Winter to keep our home light and happy during the long stretch of darkness with this delightful indoor succulent DIY project. Isn’t it adorable? Yes… Yes it […]